SR60-Mod part II
Nov 1, 2013 at 1:26 PM Post #3,241 of 3,353
   
Ah, so the best way to install a liberated driver into a full wood body is to make sure that the wood body is cut out just right so that the driver can fit tight with only friction?

 
Marty ships his headphones with a very thin layer of foam between the driver and the wood. Or, at least that's how he used to do it.  I've used some small and thin strips of electrical tape.  Depending on the gap, you might need one or two layers wrapped around the driver for a good fit.
 
Nov 10, 2013 at 8:56 AM Post #3,242 of 3,353
My first woodied sr60i's!


Now I need to insert grills on them. I didn't create a notch for the grill to rest on, so I'm guessing I'll have to try to bend out the sides of the grill so they come in contact with the inner wall of the cups?
 
Nov 11, 2013 at 12:08 AM Post #3,243 of 3,353
  My first woodied sr60i's!


Now I need to insert grills on them. I didn't create a notch for the grill to rest on, so I'm guessing I'll have to try to bend out the sides of the grill so they come in contact with the inner wall of the cups?

how do you like? what wood is on them?
 
Nov 11, 2013 at 9:16 AM Post #3,244 of 3,353
  how do you like? what wood is on them?

 
They sound good! I don't have a plastic SR60i to compare with side by side right now, but the bass impact has definitely improved with 8 holes vented, and there is no longer any unpleasant treble sizzle.
 
Not sure how big a difference the type of wood makes, but I used cherry for this since it was readily available in the woodshop. I'm thinking of going for African Mahogany or Cocobolo next. Any thoughts on the acoustic differences between these woods and cherry?
 
Nov 12, 2013 at 9:58 AM Post #3,245 of 3,353
Cocobolo was pretty amazing when I had wood cups on my sr125i. i couldn't recommend it enough 
 
Nov 19, 2013 at 6:22 PM Post #3,246 of 3,353
Hi guys! I'm new here, even though my profile is somewhat old. Sorry if I do repeat something that has already been said before, but I just didn't feel like reading every single post in this thread beforehand :wink:
 
I'd like to comment on liberating drivers.
Yesterday I did my first ever driver liberating. I was somewhat puzzled by how easy it was when done right, and how the guides around the web seems to be somewhat cruder than needed. I was "lucky" enough to have my first go at a dead SR-60 driver. I tried the method described for the Vibro cups, but due to massive amounts of ca, the driver actually took some damage. It's still intact enough, but I don't really recommend this method unless you're really careful (or if Grado changed their installation method since 2006). My next go was way slower, because this driver is still functional. I wanted to try the method where you push the driver through the back of the housing. I noticed that the tabs inside aren't really touching the back of the driver, which had me puzzled. I guess they're there to prevent the driver from going too far in if it comes loose? Just to be sure I removed them anyways, and started carefully applying pressure to the driver. No matter how hard I turned the clamp, there was no movement. I was very careful not to apply too much pressure, as I could see the (unassuring) thickness of the ABS-plastic on my defect driver. New tactics included poking carefully around with a small paper knife with fresh blades. Trying to slit between the driver and housing from the back, proved too messy and potentially lethal to the driver. It was first when I started carefully cutting into the slit in the front that things started happening. I could feel results almost instantly, as the blade cut into the ca and started comming through on the back. The sharp, straight and flexible blade really did the job wonderfully. I didn't even get up to get my trusty old scalpel, which is the sharpest and best cutting tool in my workshop. The cutting was fast, and guiding it was easy without damaging the driver or the housing. When cutting, some parts didn't come entirely loose. Carefully applying pressure indicated where the driver was still stuck. When I got my driver out, it revealed an almost 2mm high ridge of ca on the inside. It turns out that when assembling, Grado has put the driver face down on a flat surface, and then put the housing (also face down) over it before adding generous amounts of ca between the two from the back. Unless Grado has changed their installation method and/or glue, this is what I, from my limited experience on the topic, would recommend for liberating plastic drivers. I hope this proves useful to someone :)


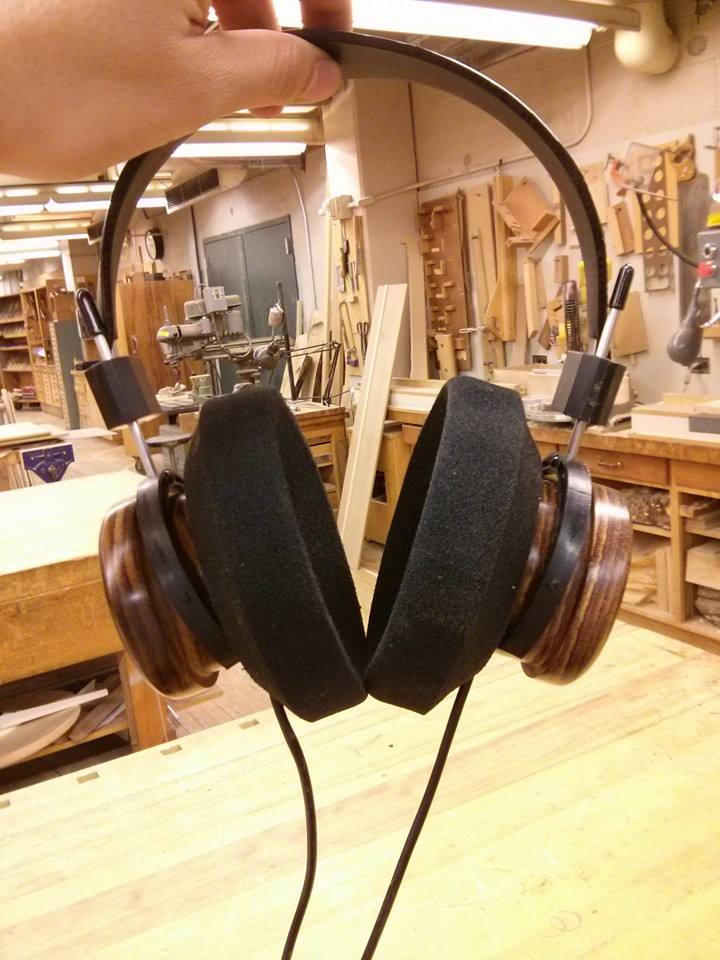
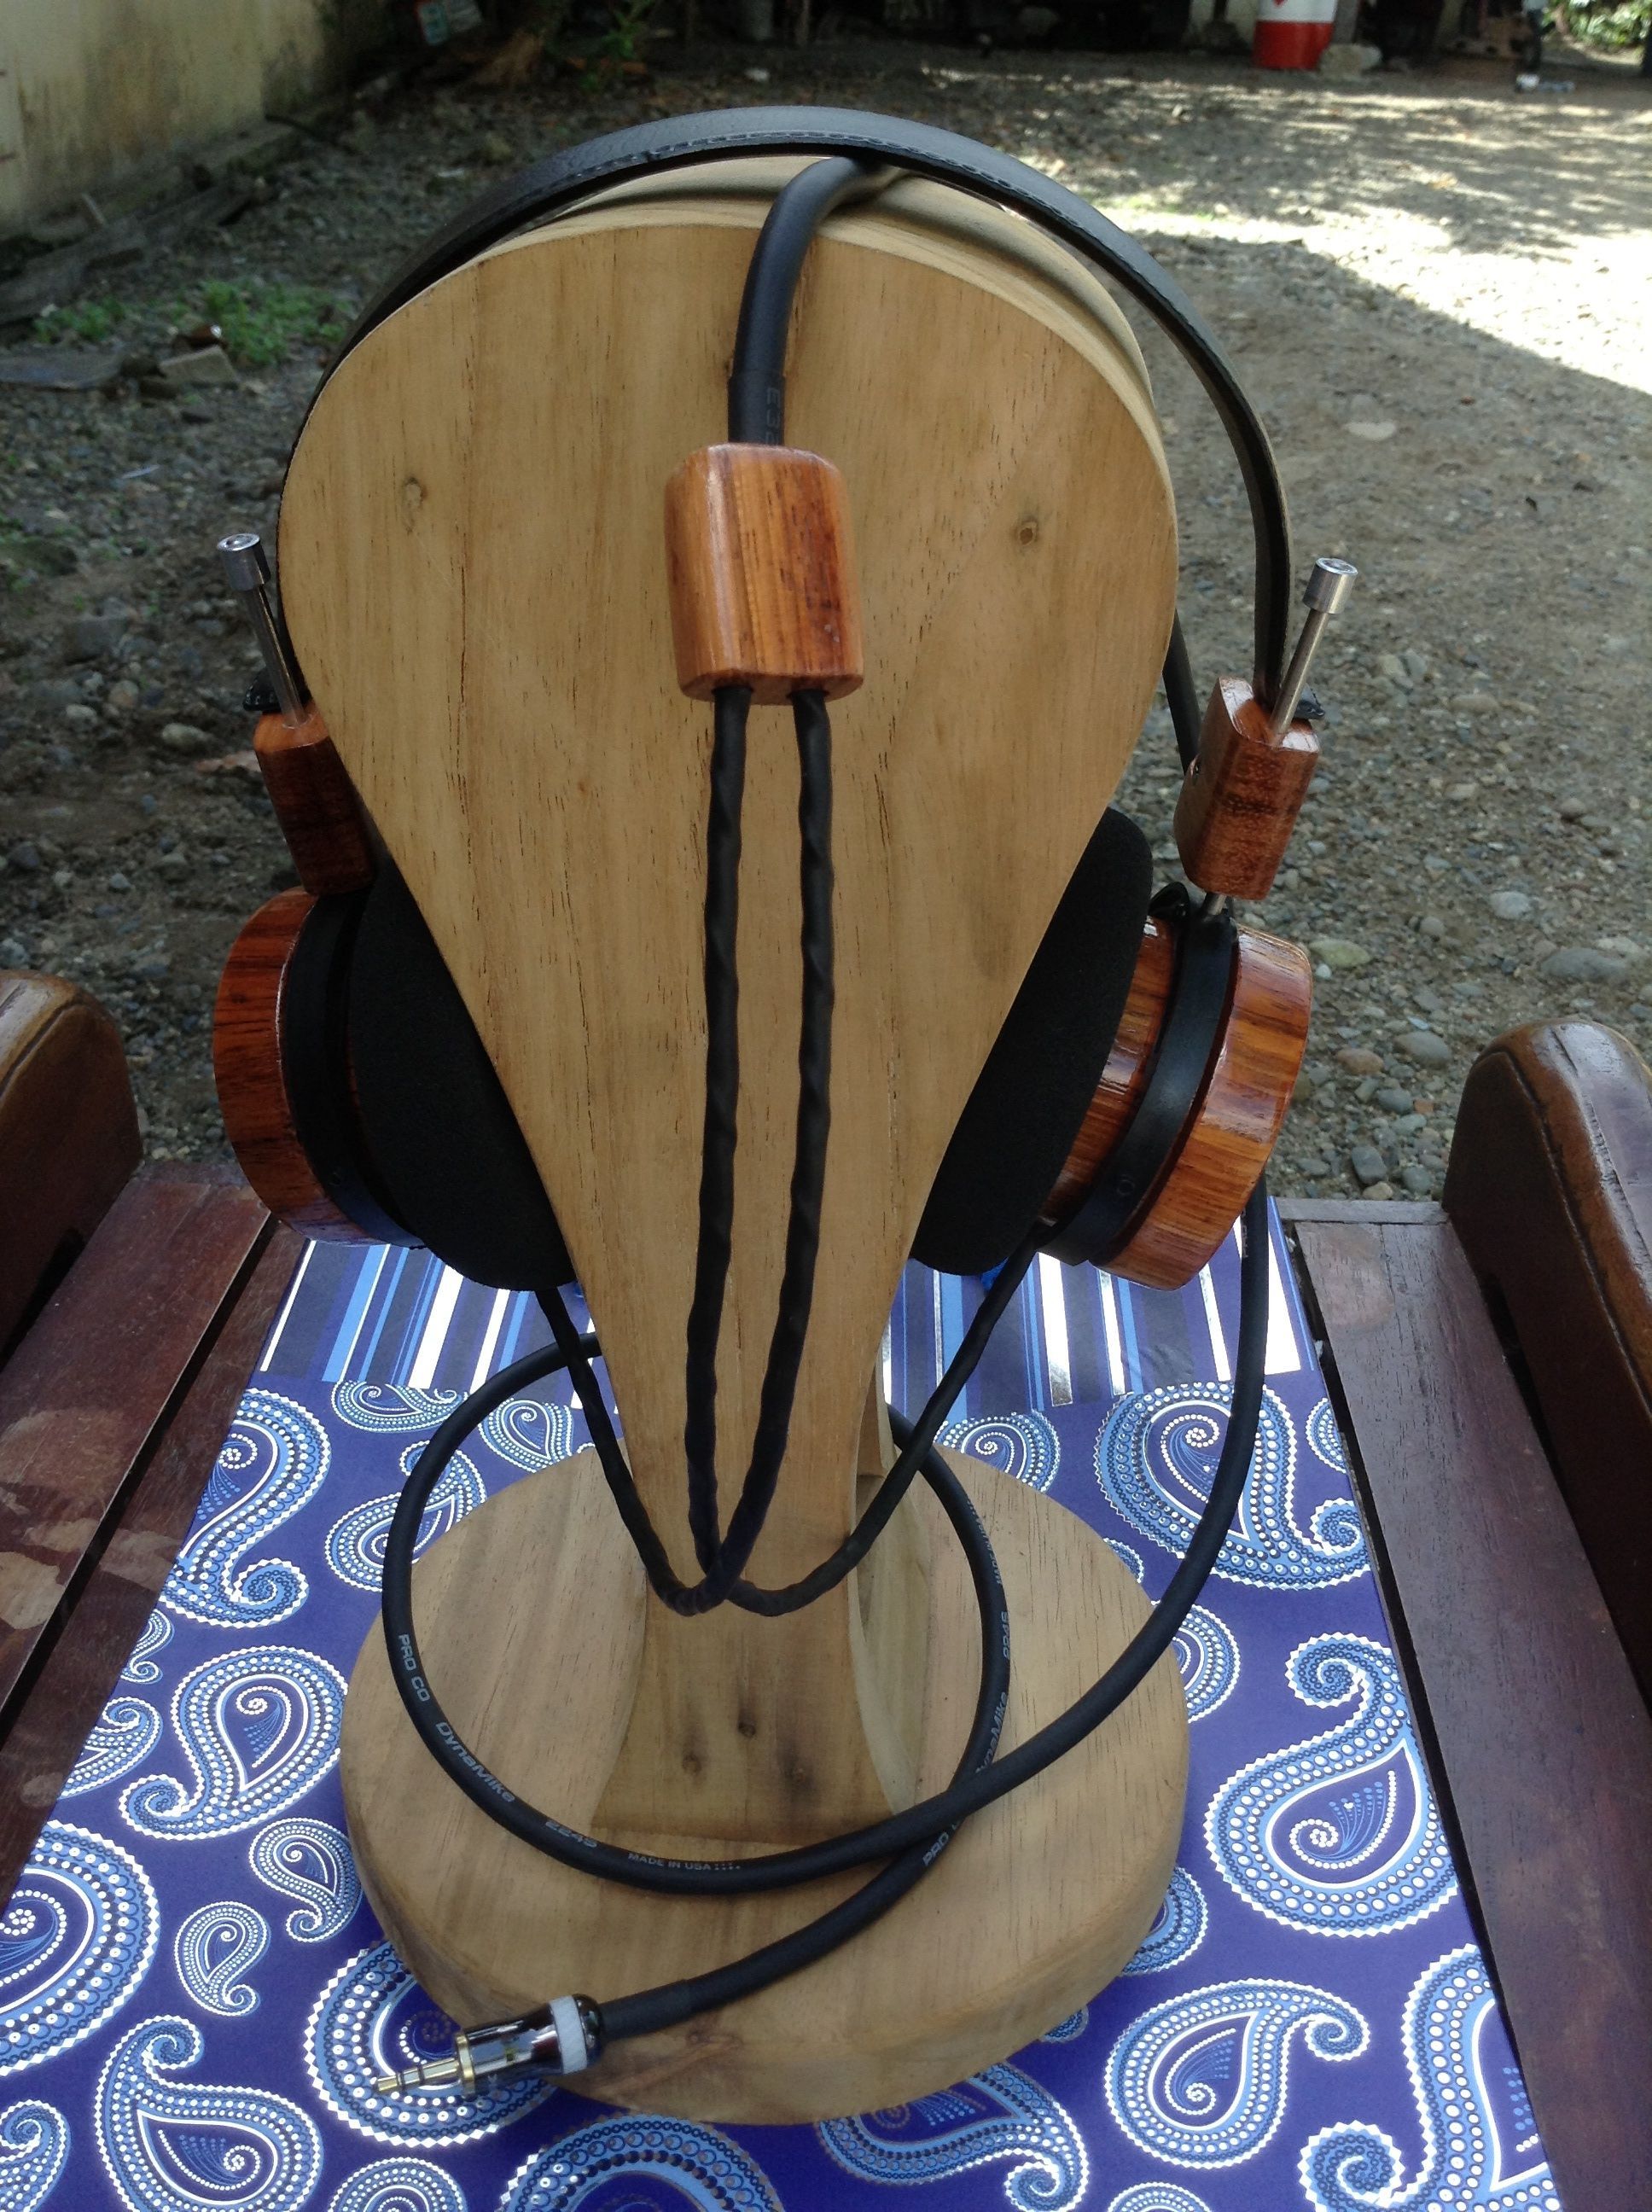
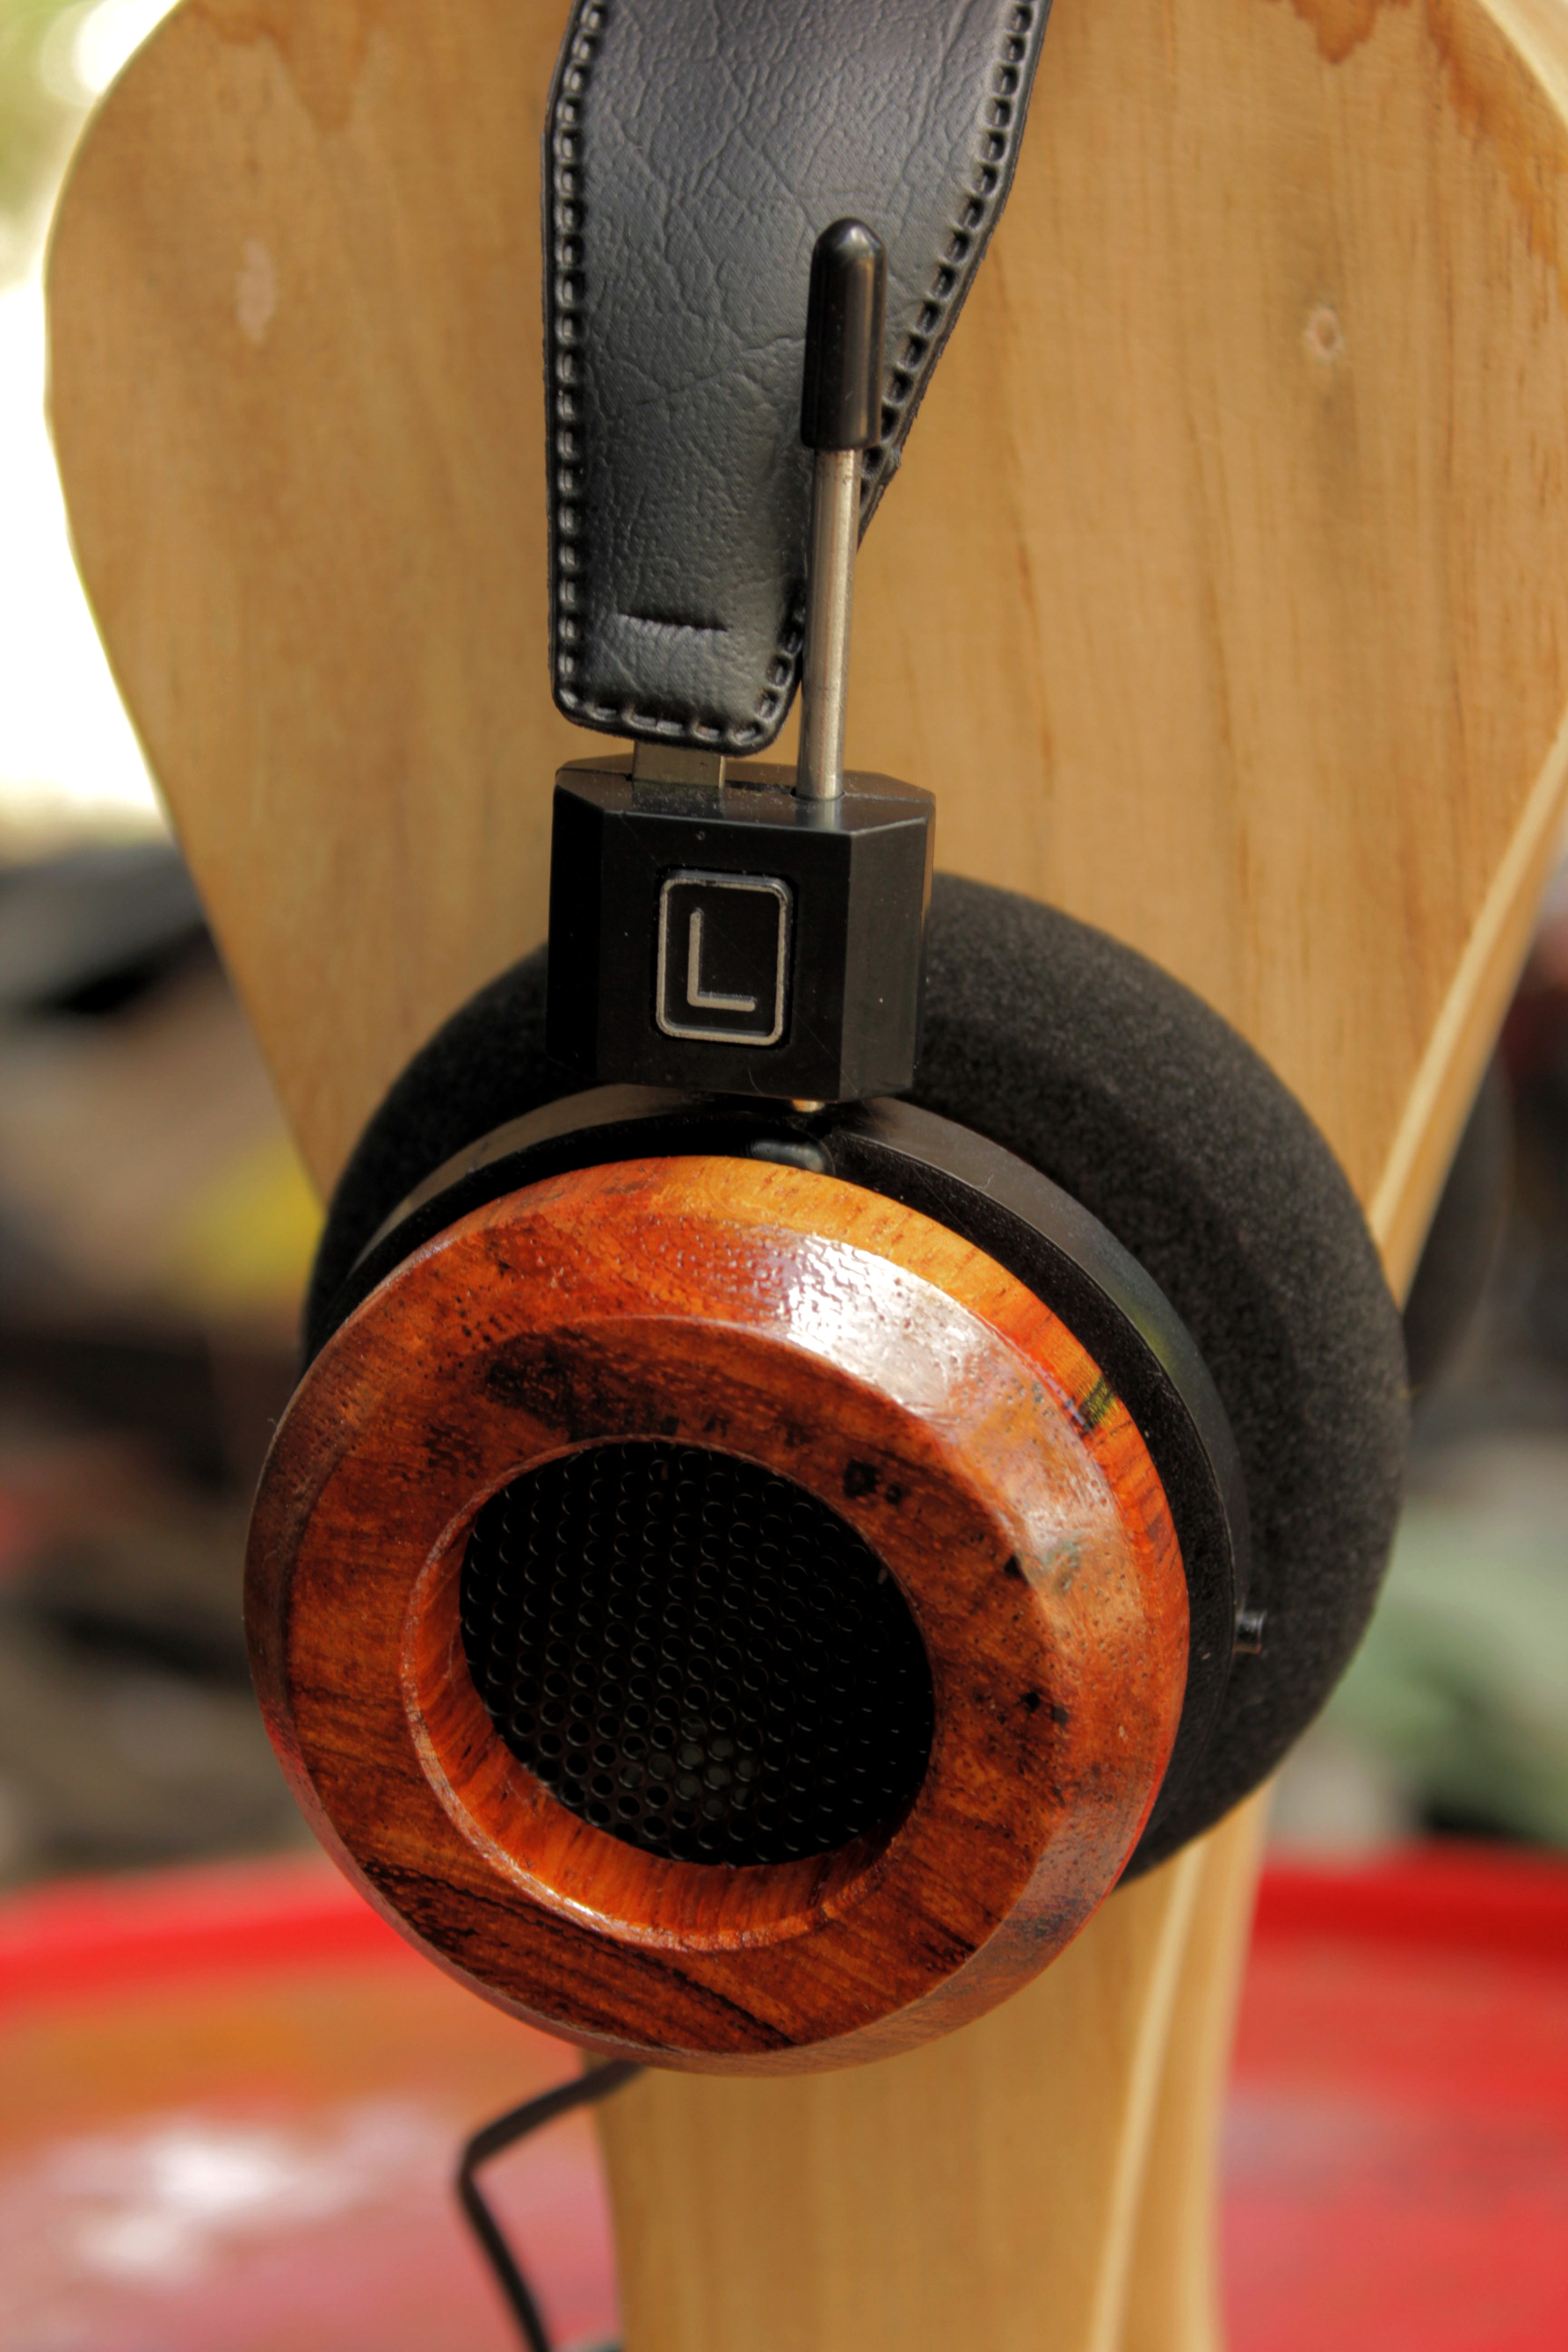
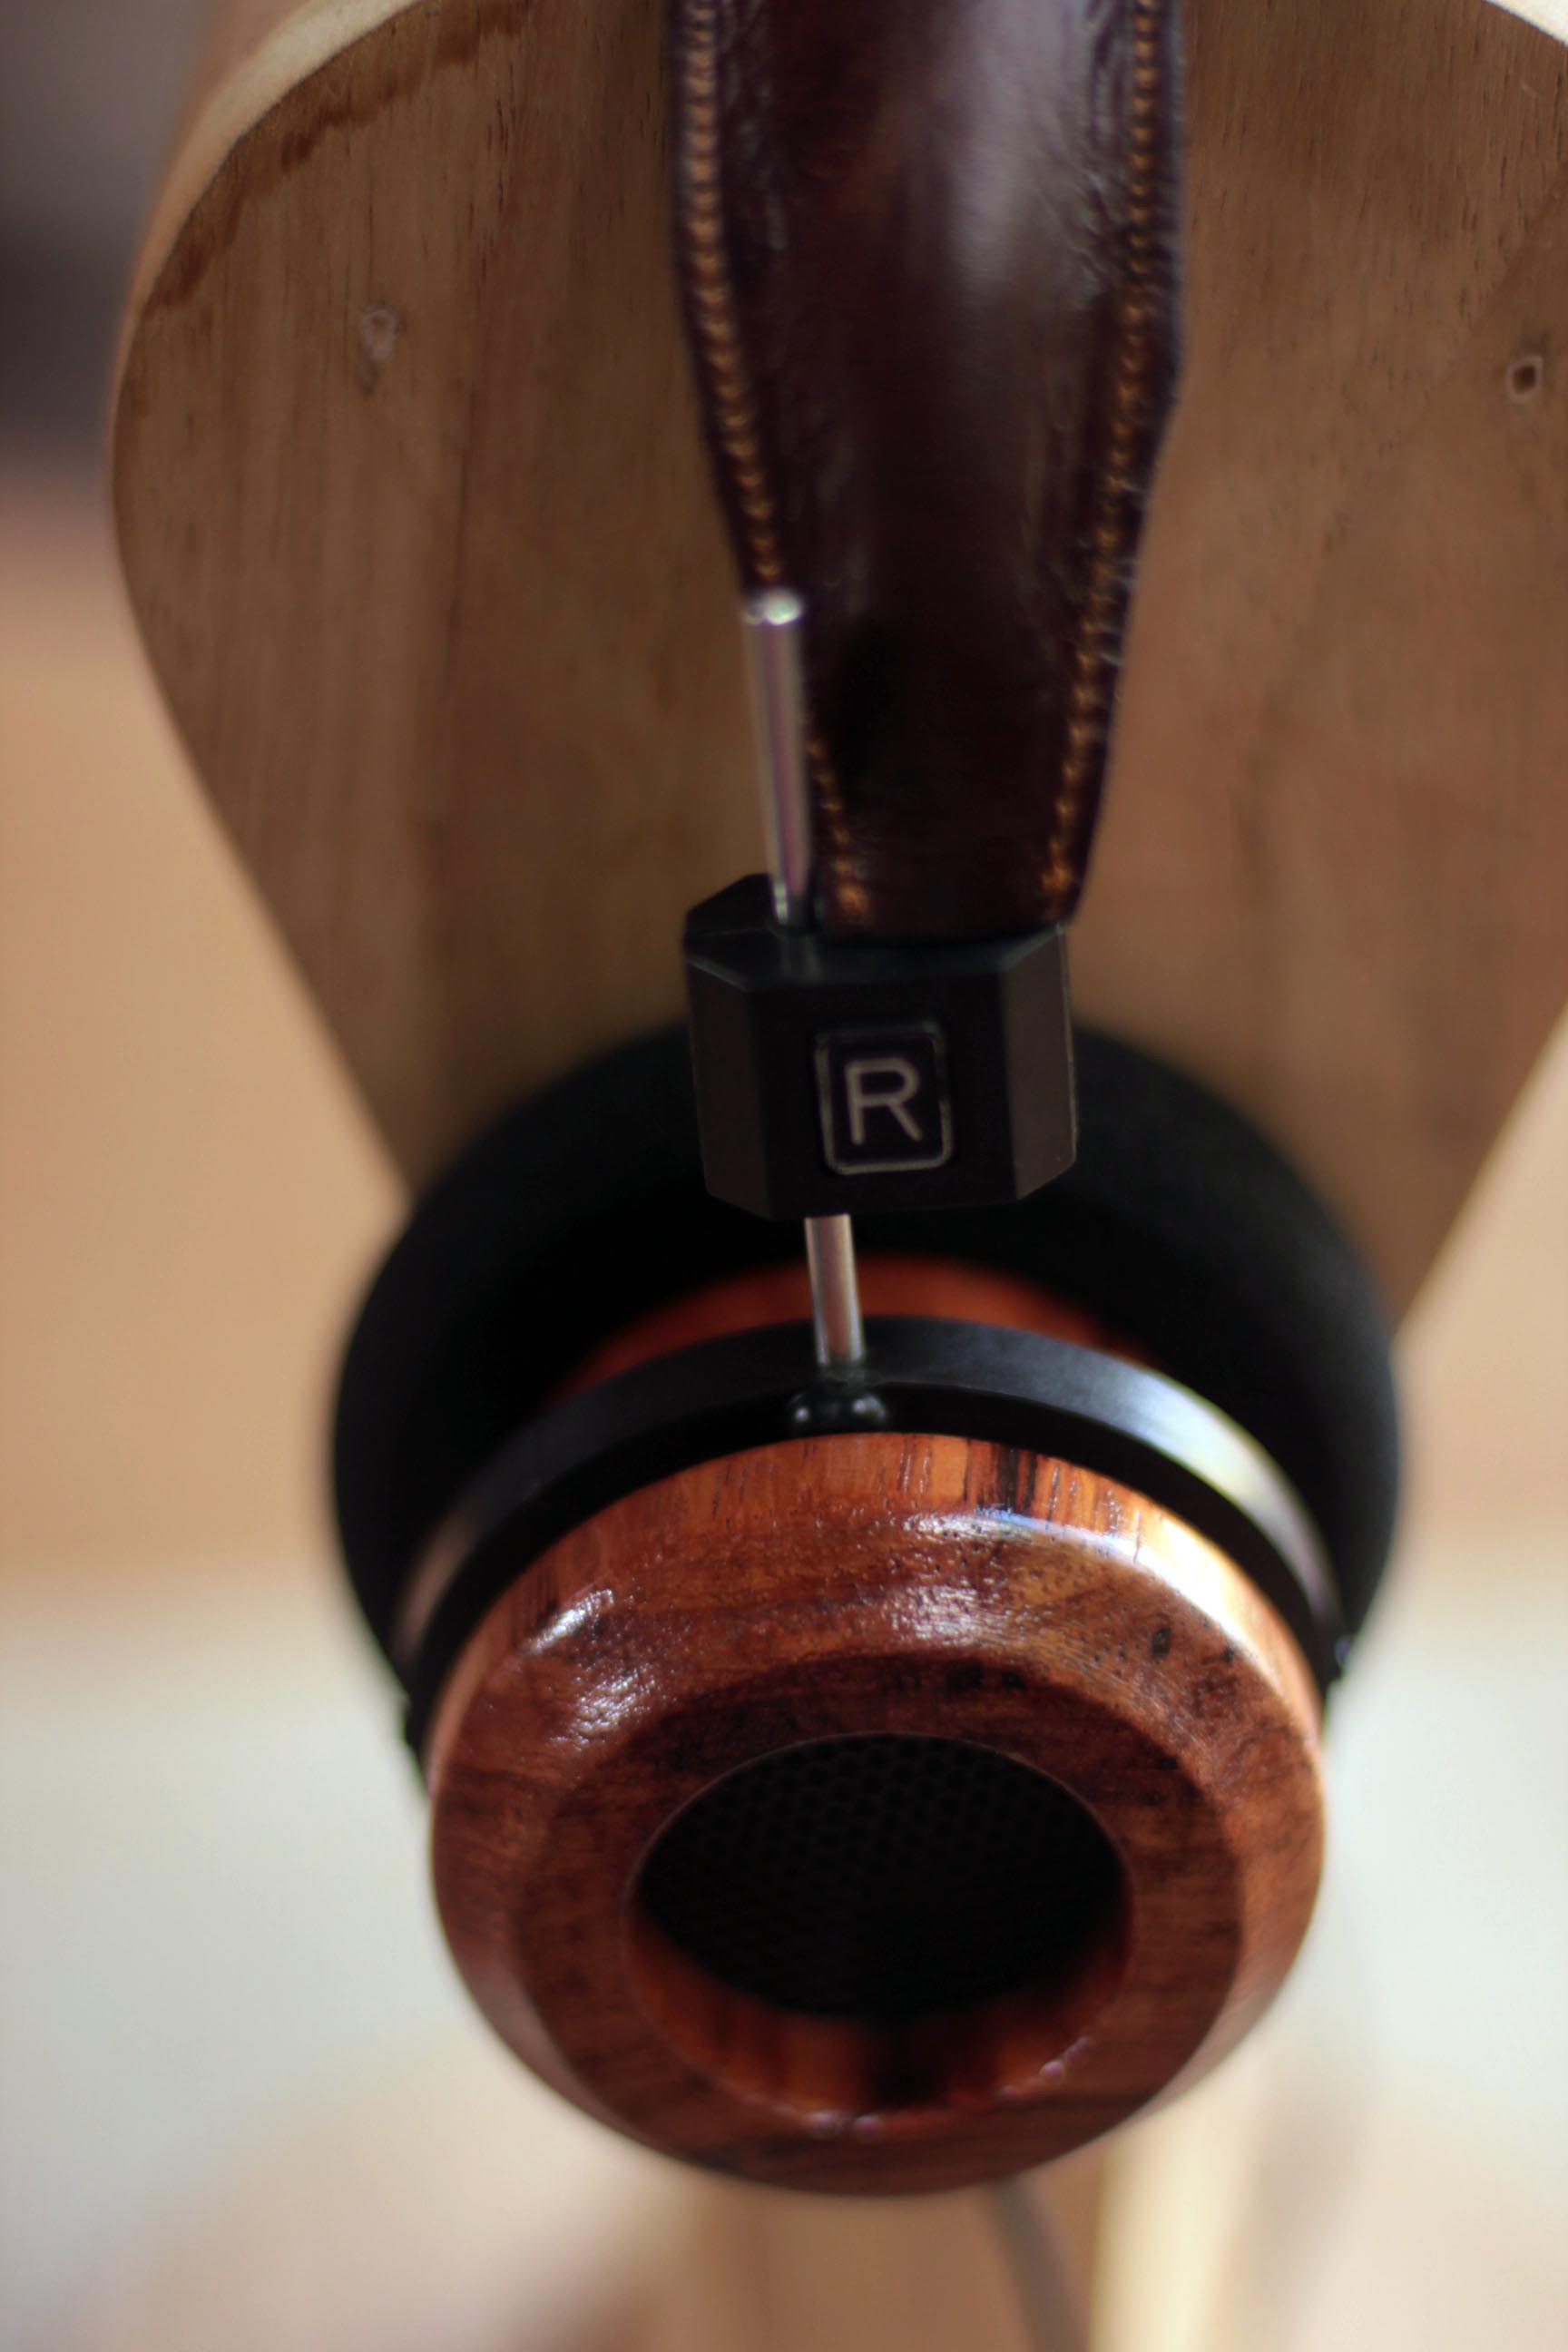
Regarding woodies, I'm in the process of getting CNCed some test housings for my new SR-60is. Are there any recommendations regarding this?
- Should I try to keep the same internal volume, or increase/decrease it to some extent?
- I'm considering changing the vent diameter. Does anyone have experience with widening or narrowing this part of the design? I've seen a lot of designs that seems to be wider, and I would love some feedback on how it's working out!
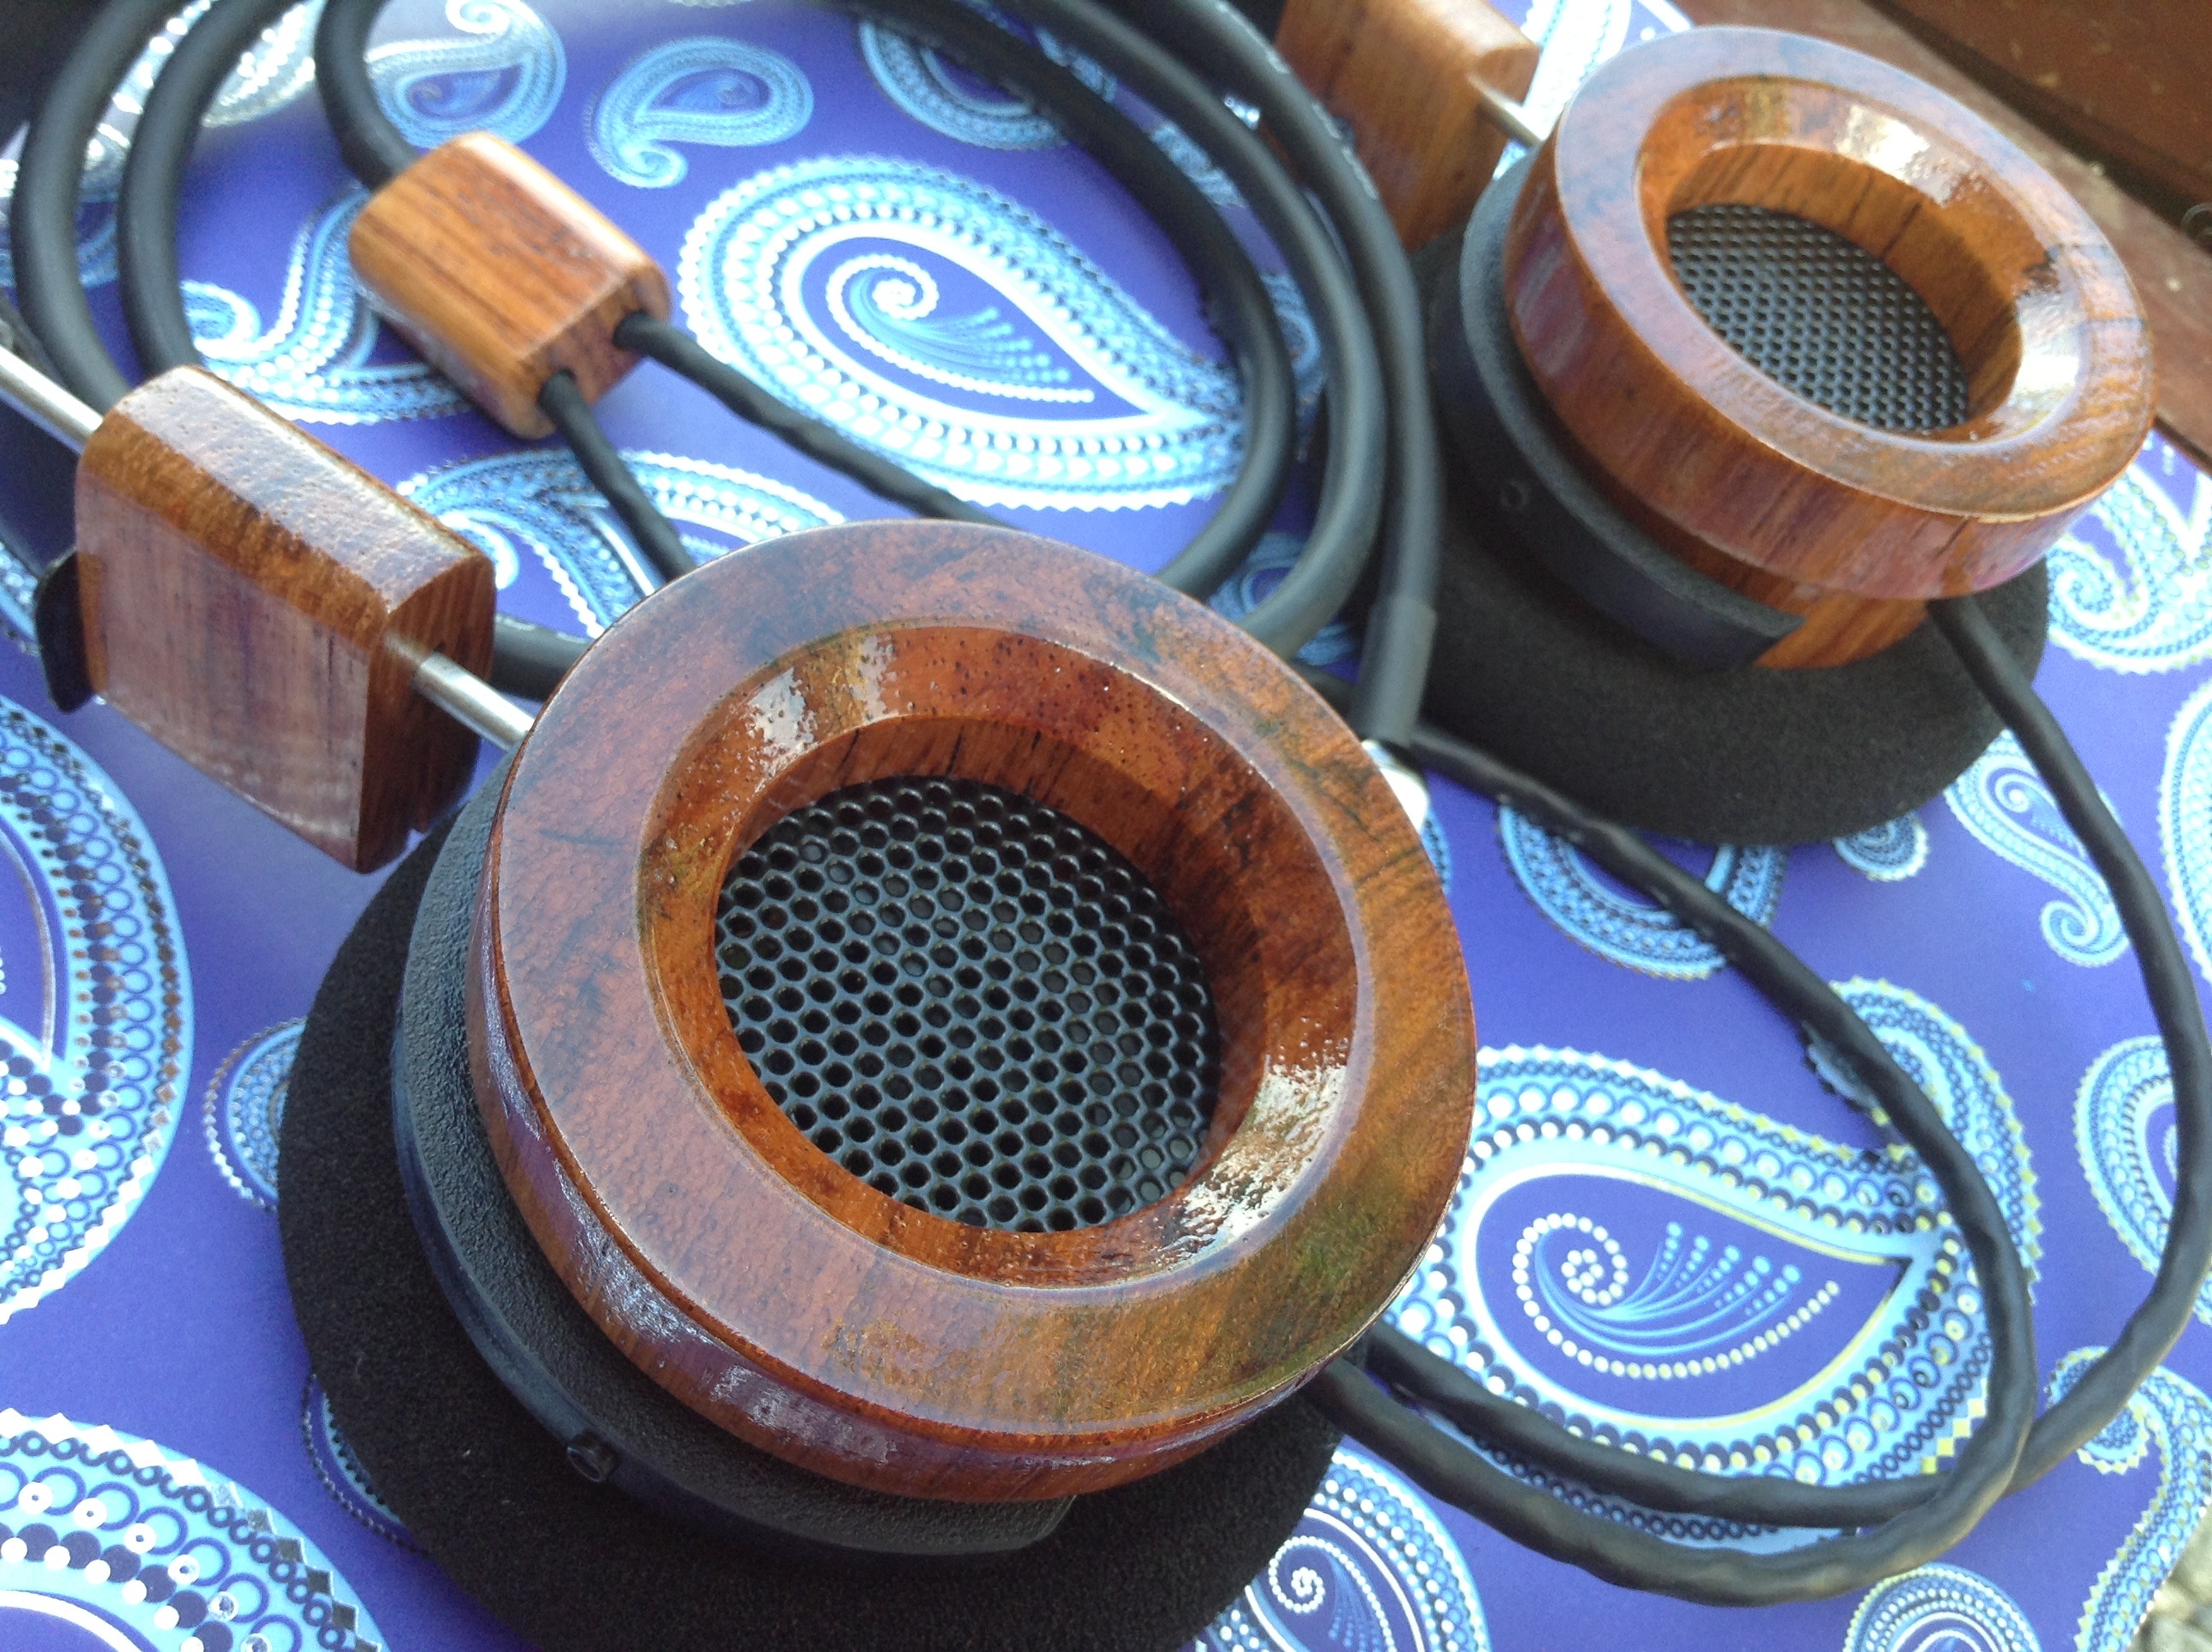
- Do I really need the collar on the end of the cups? My theory is that they're there for stiffening the housing to prevent vibrations, but does it really do this effectively?
- My material options at the moment are Oak and Ash wood. Does anyone have experience with these types of wood regarding strength and sound quality? I know the oak is somewhat brittle, so I've decided to go with a one-piece design similar to the Vibro cups aswell as 3-5mm wall thickness for best possible strength and integrity.
- I'm playing around with some design ideas. One is to make an internal rounded collar towards the grille to smoothen the airflow and possibly prevent unwanted resonance. Any thoughts or experience regarding this?
- Can anyone refer me to a source that sell the stiffest possible metal grilles similar to the high-end Grado ones? Stainless is preferred.
- Does anyone have the measurements for the one-piece Grado woodies?


Lastly, would anyone be willing to help me get one or two Sony MDR-7506 headbands and ship them to Norway? Trewaudio.com are completely ignoring my email requests :frowning2: I would of course pay for everything and in advance (paypal).


EDIT: A little later on I liberated some SR-60i drivers. The newer enclosures are surely sitting closer/tighter to the driver, so it did take more time to liberate newer i-drivers with my technique. Still it did work quite successful, but now I'm thinking that people might just aswell use the technique from the Turbulent Labs guide.
 
Nov 21, 2013 at 10:55 PM Post #3,249 of 3,353
  Has anyone used the grado pizza box packing foam to make ear pads? Feel dense enough for bowls.

 
It might be dense enough for making the ear pads, but it doesn't have the varying layers of 2 or 3 foam variations like Grado has.  Then again, Amazon has the Ear Zonk G-Cush pads that are quite comfortable for $20 a pair, plus shipping.  The foam is just one density, but I feel that you'd waste well over $20 in labor trying to make some bowl pads out of the Grado foam.
 
Just my .02.  
wink.gif

 
Then again, I don't want to stop innovation.  It would be an interesting project as one never knows what one might come up with.  Just because what's out there and available now is good, it still doesn't mean that something won't be better.
 
Nov 22, 2013 at 5:53 PM Post #3,251 of 3,353

If anyone is still interested in this let me know, but rough pad is on the left. Somewhat final on the right. Yah I used high grit sandpaper. Don't even think about this if you aren't patient. Tapered drop at about 87 degrees. Also. Didn't mean to make a face with that. Now I need to find a way to remove foam from inside. Have an idea for Isolation. Check back for progress (if interested.)
 
Nov 24, 2013 at 12:36 PM Post #3,252 of 3,353
 
 
Quote
 
Originally Posted by MPBateman /img/forum/go_quote.gif
 
If anyone is still interested in this let me know, but rough pad is on the left. Somewhat final on the right. Yah I used high grit sandpaper. Don't even think about this if you aren't patient. Tapered drop at about 87 degrees. Also. Didn't mean to make a face with that. Now I need to find a way to remove foam from inside. Have an idea for Isolation. Check back for progress (if interested.)


I've got to dig that spoiler code back out to ensure I don't apply the whole quote and pictures but ....
 
Hey, your work is looking pretty good on those pads.  Nice!
 
Nov 25, 2013 at 12:20 AM Post #3,253 of 3,353
Pads have been completed, took off about 1/3rd of the height, hollowed out inside by making cube incisions then pinching out foam with fingers. Foam walls were about 3/4th's of an inch thick. Sealed the outside with pvc pipe glue which I had from a previous project. Left it outdoors while the fumes on the glue subsided. Hardest part was making the lip for the plastic rim on the headphone. And they sounded pretty good for free. Bass was actually increased, midrange was directed right at me, those high highs were muffled though. Unfortunately they are gone, had a small party, girlfriend mistook them for can comfies and threw them out since they looked so rough. It was not meant to be I suppose. I do urge someone else to try this though. If anyone is interested I'll give more detailed information. No special tools were used. Took a lot of time but I could see potential in this as being an easy project that could be streamlined to be easier.
 
Nov 25, 2013 at 6:39 PM Post #3,254 of 3,353
Hello, Is there an easy way to replace the rubber on the stock cable on the 225i? I want something that will be less heavy and more flexible and am wondering if the stock covering can be cut off and replaced with some other sheath.
 
Nov 25, 2013 at 9:00 PM Post #3,255 of 3,353
  Hello, Is there an easy way to replace the rubber on the stock cable on the 225i? I want something that will be less heavy and more flexible and am wondering if the stock covering can be cut off and replaced with some other sheath.

 
Not really.  It's best just to do a recable job with something lighter.  If you strip of the current sheathing, you're likely to cut a wire, and that isn't good.
 

Users who are viewing this thread

Back
Top