The opamp is tall... I had Andrew solder it all together.
You will need:
1 dip-8 riser.
3 Feet
ASHATA 8 Pcs 30x20mm Rubber Feet Anti-Vibration Base Pad Stand for Speaker Guitar Amplifier w/Screws,Rubber Feet for HiFi Speaker,Amplifier,Car Subwoofer
https://a.co/d/ddyRe0j
Dump the screws in with your other tool stuff.
Double sided tape to adhere the feet
Gorilla Heavy Duty, Extra Long Double Sided Mounting Tape, 1" x 120", Black, (Pack of 1)
https://a.co/d/f9oUvF6
1 Project box to protect the op-amp.
Zulkit 5Pcs Project Boxes ABS Plastic Electrical Project Case Power Junction Box Black 2.40 x 1.41 x 0.98 inch (61 x 36 x 25 mm)
https://a.co/d/ciLXsD9
This is important to keep the opamp protected from the environment. It gets warm too so venting the box is important.
You need some general use sandpaper... Garnet is probably not the best.
A reamer - unless you can make precision holes another way without ruining the little abs box like I did my first go.
HobbyPark Steel Metal 0-14mm Hole Puncher Reamer Black for RC Tools Car Body Shell Drills
https://a.co/d/9IS4MUl
Possibly a scratch awl... To make the first marks for the reamer. The reamer itself will work though.
Use the tall feet. Adhere them in the logical locations using the gorilla tape. Cut it to shape.
Once you do this, you can take the project box and remove the lid. Put it where the opamp will be and note the unevenness.
Sand down the open edge of the box by placing the sandpaper on a flat surface. Sand lightly and incrementally. Rotating how you hold the box every so often. Check often. Put the box in the position of the opamp. Remove just enough material to make it rest evenly. You're just trying to remove the wobble and make things level and just right.
Once you get that right, you need to prep the interior of the box. Removing the nubs on the bottom on the inside. Then, because the opamp is bigger than the interior. You will need to use a rotary tool or sandpaper and remove some material from the edges. Sand it sparsely and incrementally. You want the interior just snug enough for the opamp to friction fit. You don't want it to be loose fitting.
Refer to my pictures and vent the box as per Andrew's instruction. The you can use adhesive thermal tape in the bottom of the box. I used a piece of that fake leather deskmat material.
The springy material will give you just enough lift to help keep the opamp plugged in snugly as it rests on the project box bottom.
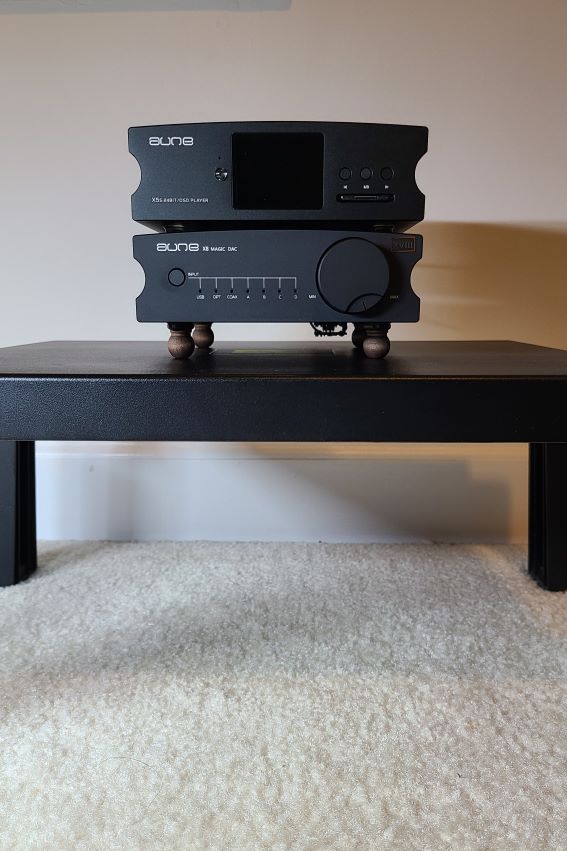
Place the opamp in the box, aligned with how it should be mounted and with where you want the box to be. My initial pictures show the box closer to the middle, however I altered that to make everything rest closer to the outer edge.
Put the dip-8 riser either on the opamp or in the socket. Remember to properly orient things so pin 1 is in socket 1. Don't ruin your SS2590 dual pro or your DAC.
Carfully insert your opamp that is nested in the box into the socket. Turn it over and place it on a flat surface. If everything has been done correctly. It will sit level and won't be too unpleasant to look at.
I made sure to place the opamp in the box closer to one edge so that the box itself was situated more to the outer edge.
You are basically making a larger, plastic version of the opamp cover that came with the X8.
Work safely, slowly and diligently with precision and patience. Hope this helps.


")
