How-to ATH-AD900x Detachable Cable Mod (ATH-ADXXXx) (and what NOT to do)
Aug 2, 2020 at 3:48 PM Post #31 of 48
I did the same mod with my ath-ad500x, with much effort. I hope I'd seen this post before.
I'm new and I'd like to share some mods. I already posted my introduction; how long do I have to wait till the let me post? Will they send me an email when I'm able to?
Thanks in advance.
*BTW: Watch out for the 3,5mm. connector you plug after this mod, it has to be very compact in size, otherwise, since the cups are so large, the connector will touch you shoulder when you turn your head.*
 
Aug 3, 2020 at 6:21 PM Post #32 of 48
I did the same mod with my ath-ad500x, with much effort. I hope I'd seen this post before.
I'm new and I'd like to share some mods. I already posted my introduction; how long do I have to wait till the let me post? Will they send me an email when I'm able to?
Thanks in advance.
*BTW: Watch out for the 3,5mm. connector you plug after this mod, it has to be very compact in size, otherwise, since the cups are so large, the connector will touch you shoulder when you turn your head.*
I think it can take a few days before you can post. It took two for me I think.
Good call on the 3.5mm connector. I hadn't considered the shoulder issue. Do you have a cable you recommend?
It's so hard to know how good a cable is without touching it.
 
Aug 3, 2020 at 6:29 PM Post #33 of 48
However, an issue I've encountered with the mod was lateral forces which breaks the connector as jacks are longs and when the headphone is worn, they can be disturbed which exert pressure inside the connectors.
So, your'e saying something inside the connector itself is breaking?
I'm not sure I want to go as far as MMCX with my first mod...but that does look like a solid option.
 
Aug 3, 2020 at 7:08 PM Post #34 of 48
I think it can take a few days before you can post. It took two for me I think.
Good call on the 3.5mm connector. I hadn't considered the shoulder issue. Do you have a cable you recommend?
It's so hard to know how good a cable is without touching it.
I can post now!
The distance from the cup to the part where the cable starts, and can bend, should be less than 40mm.
 
Aug 20, 2020 at 10:02 PM Post #36 of 48
Finished my mod. Grabbed the soldering iron while reaching for a screwdriver... But otherwise came out great.
Managed to pull the sheath off the cable internally and used that which sped and cleaned things up. Looks rather professional if I do say so myself.
20200820_183900.jpg
 
Feb 21, 2021 at 1:01 AM Post #38 of 48
Thanks for the guide, it was very helpful to avoid potential mistakes.
These headphones were in a pretty bad condition, with the cable damaged at several parts. So I got a new cable and decided to follow your tutorial.
They are now like new. Thanks a lot!
 
May 20, 2021 at 10:18 AM Post #39 of 48
Thanks for the guide. Modded it after all my parts arrived.

I used this audio female jack which fit in the existing hole so I didn't need to widen it.
Like you, I had to cut the chromium and file down the plastic ridge but that went pretty smoothly. I might have needed to make the plastic ridge deeper/wider though - after I screwed everything back together, I can still see a curved gap where the ridge is but the fit seems fine so I'm just leaving it for now.

I was able to reuse the existing wire from the old cable and simply solder it onto the female jack. After removing the electric tape and undoing the knot, I cut it down a bit and gently pulled on the rubber while down holding the wire and it just slipped out.

I didn't put any hot glue to fix the jack in place (might have got in the way of the chromium) so I'm a bit worried that twisting the audio cable would also cause the female socket to turn and twist the soldered wires. I screwed the bolt pretty tightly though so hopefully that won't be a problem.
 
Jan 23, 2022 at 1:45 AM Post #40 of 48
Been lurking here forever without an account, so made an account just to say thank you for this guide, it was super helpful!

I kind of salvaged the original wires inside but the audio quality wasn't good, so i took it all apart again and swapped out the wires for new 26awg wires and wow it made a big difference! Heres some pictures as I think the PCB inside my ATH-AD900x's is different to yours: https://imgur.com/a/Aw1Yq54
 
Feb 25, 2022 at 10:57 PM Post #41 of 48
its been almost 4 years since i modded my ad900x and let me tell you, theyre still going strong! until today when i had to re-solder the wires to the audio jack lol. i guess i did a crappy job since it was my first time soldering, but theyre good now.

anyways here's the audio jack that i used, its a perfect fit! no need for cutting or shaving any plastic.
Lumberg #KLB 4 Amazon Link

one last thing, i used a "angled" 3.5mm cable because my shoulders/collar bone were bumping into the cable as i moved while using the headphones. just a tip if youre having that issue. unfortunately, i dont have a link to the cable.

IMG_2746.jpg
 
Last edited:
Jun 22, 2022 at 8:28 PM Post #42 of 48
Hello,

Inspired by the other posts in this thread and elsewhere, I decided to try modifying my own ATH-AD900x's. I registered on head-fi.org just so that I could post this message.

I wanted to use dual entry. At first, I drilled a hole on the right-side frame, analogous to the existing hole on the left-side frame. However, I wasn't satisfied with the job I had done, and so I ended up buying a replacement left-side shell from the Audio-Technica parts department and using it on the right side.

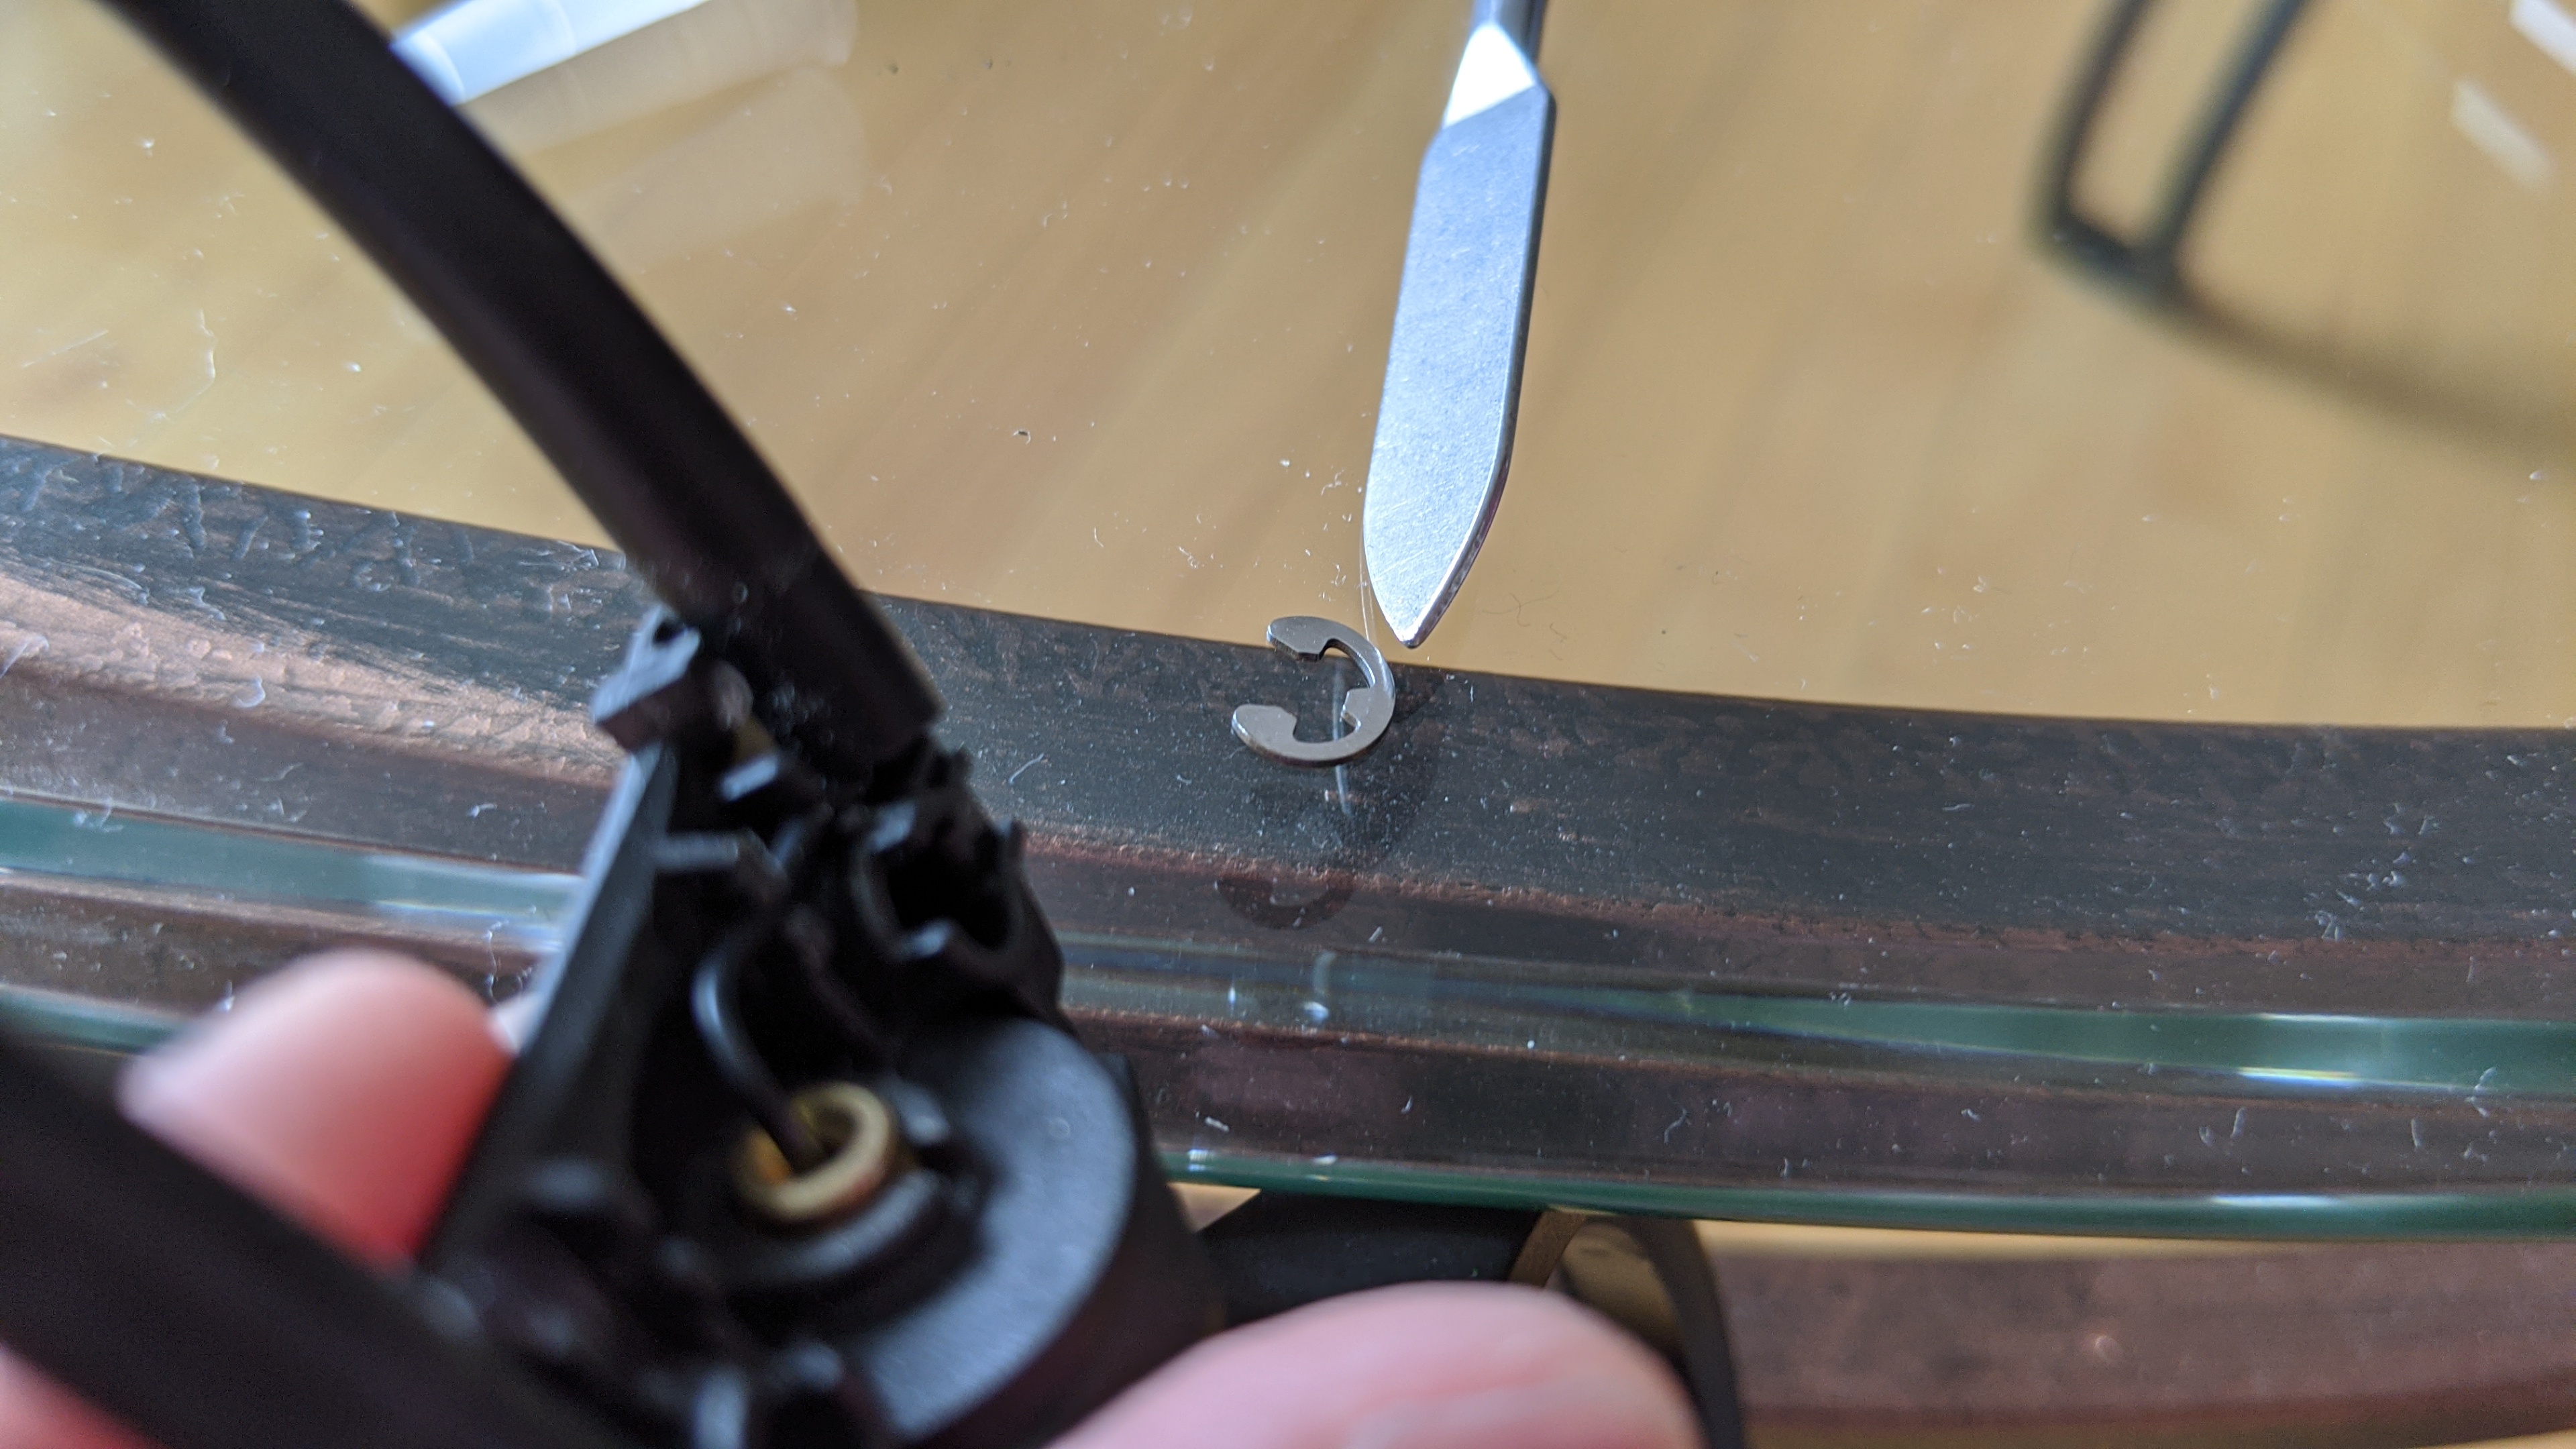
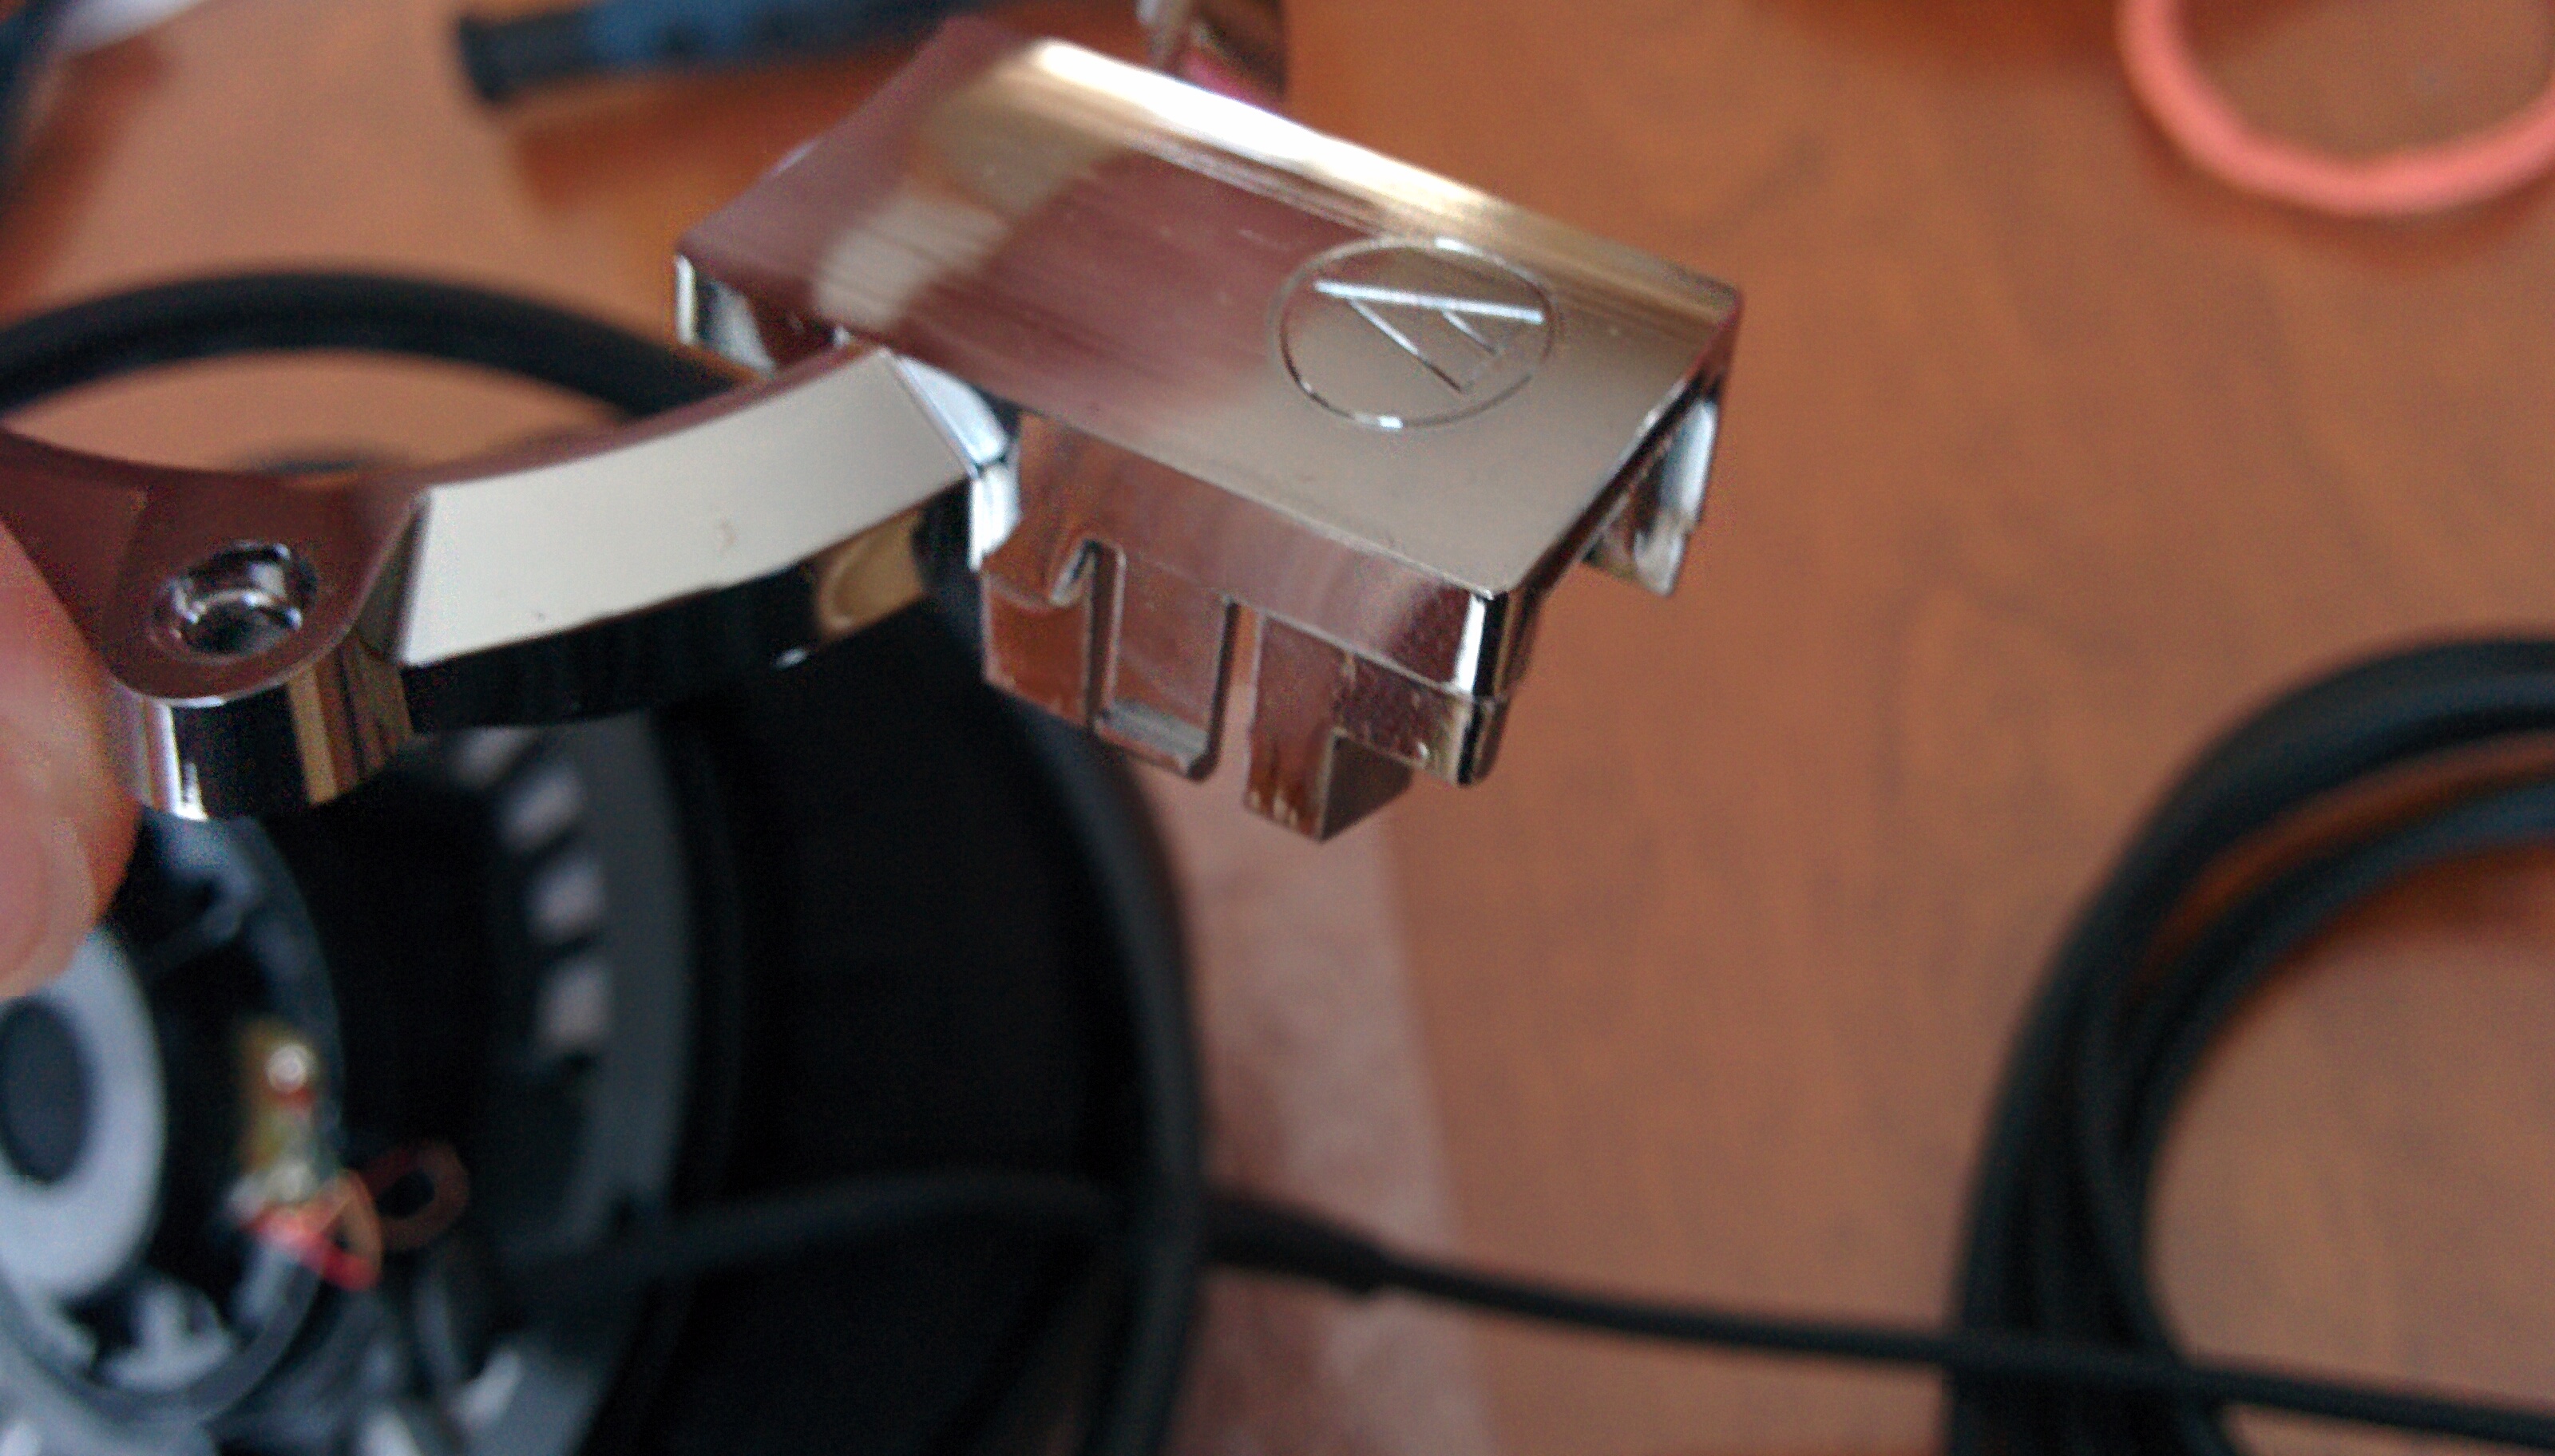
Also, I wanted to use A2DC jacks since these are Audio-Technica headphones. I found some A2DC jacks with cylindrical aluminum shells on AliExpress. They look like they're designed to go on the end of cables, though I don't know what the intended use for these is as usually it's the plug rather than the jack that goes on the end of cables. Then I had to figure out how to mount these. Borrowing the idea that the author of post #31 in this thread had gotten from watching the video referenced in that post — specifically the idea of using the "chromed" plastic part to hold the jack — I spent many, many hours over many days thinking of different ways I might mount these jacks in this plastic part. After a few failed ideas, I came up with the idea of cutting threads in the cylindrical shells of the jacks and using nuts with the appropriate threads to hold the shells in place. I had to drill a hole in the U-shaped notch so that the cylindrical shell would fit through. Here's what it looks like: IMG_6794.jpg.

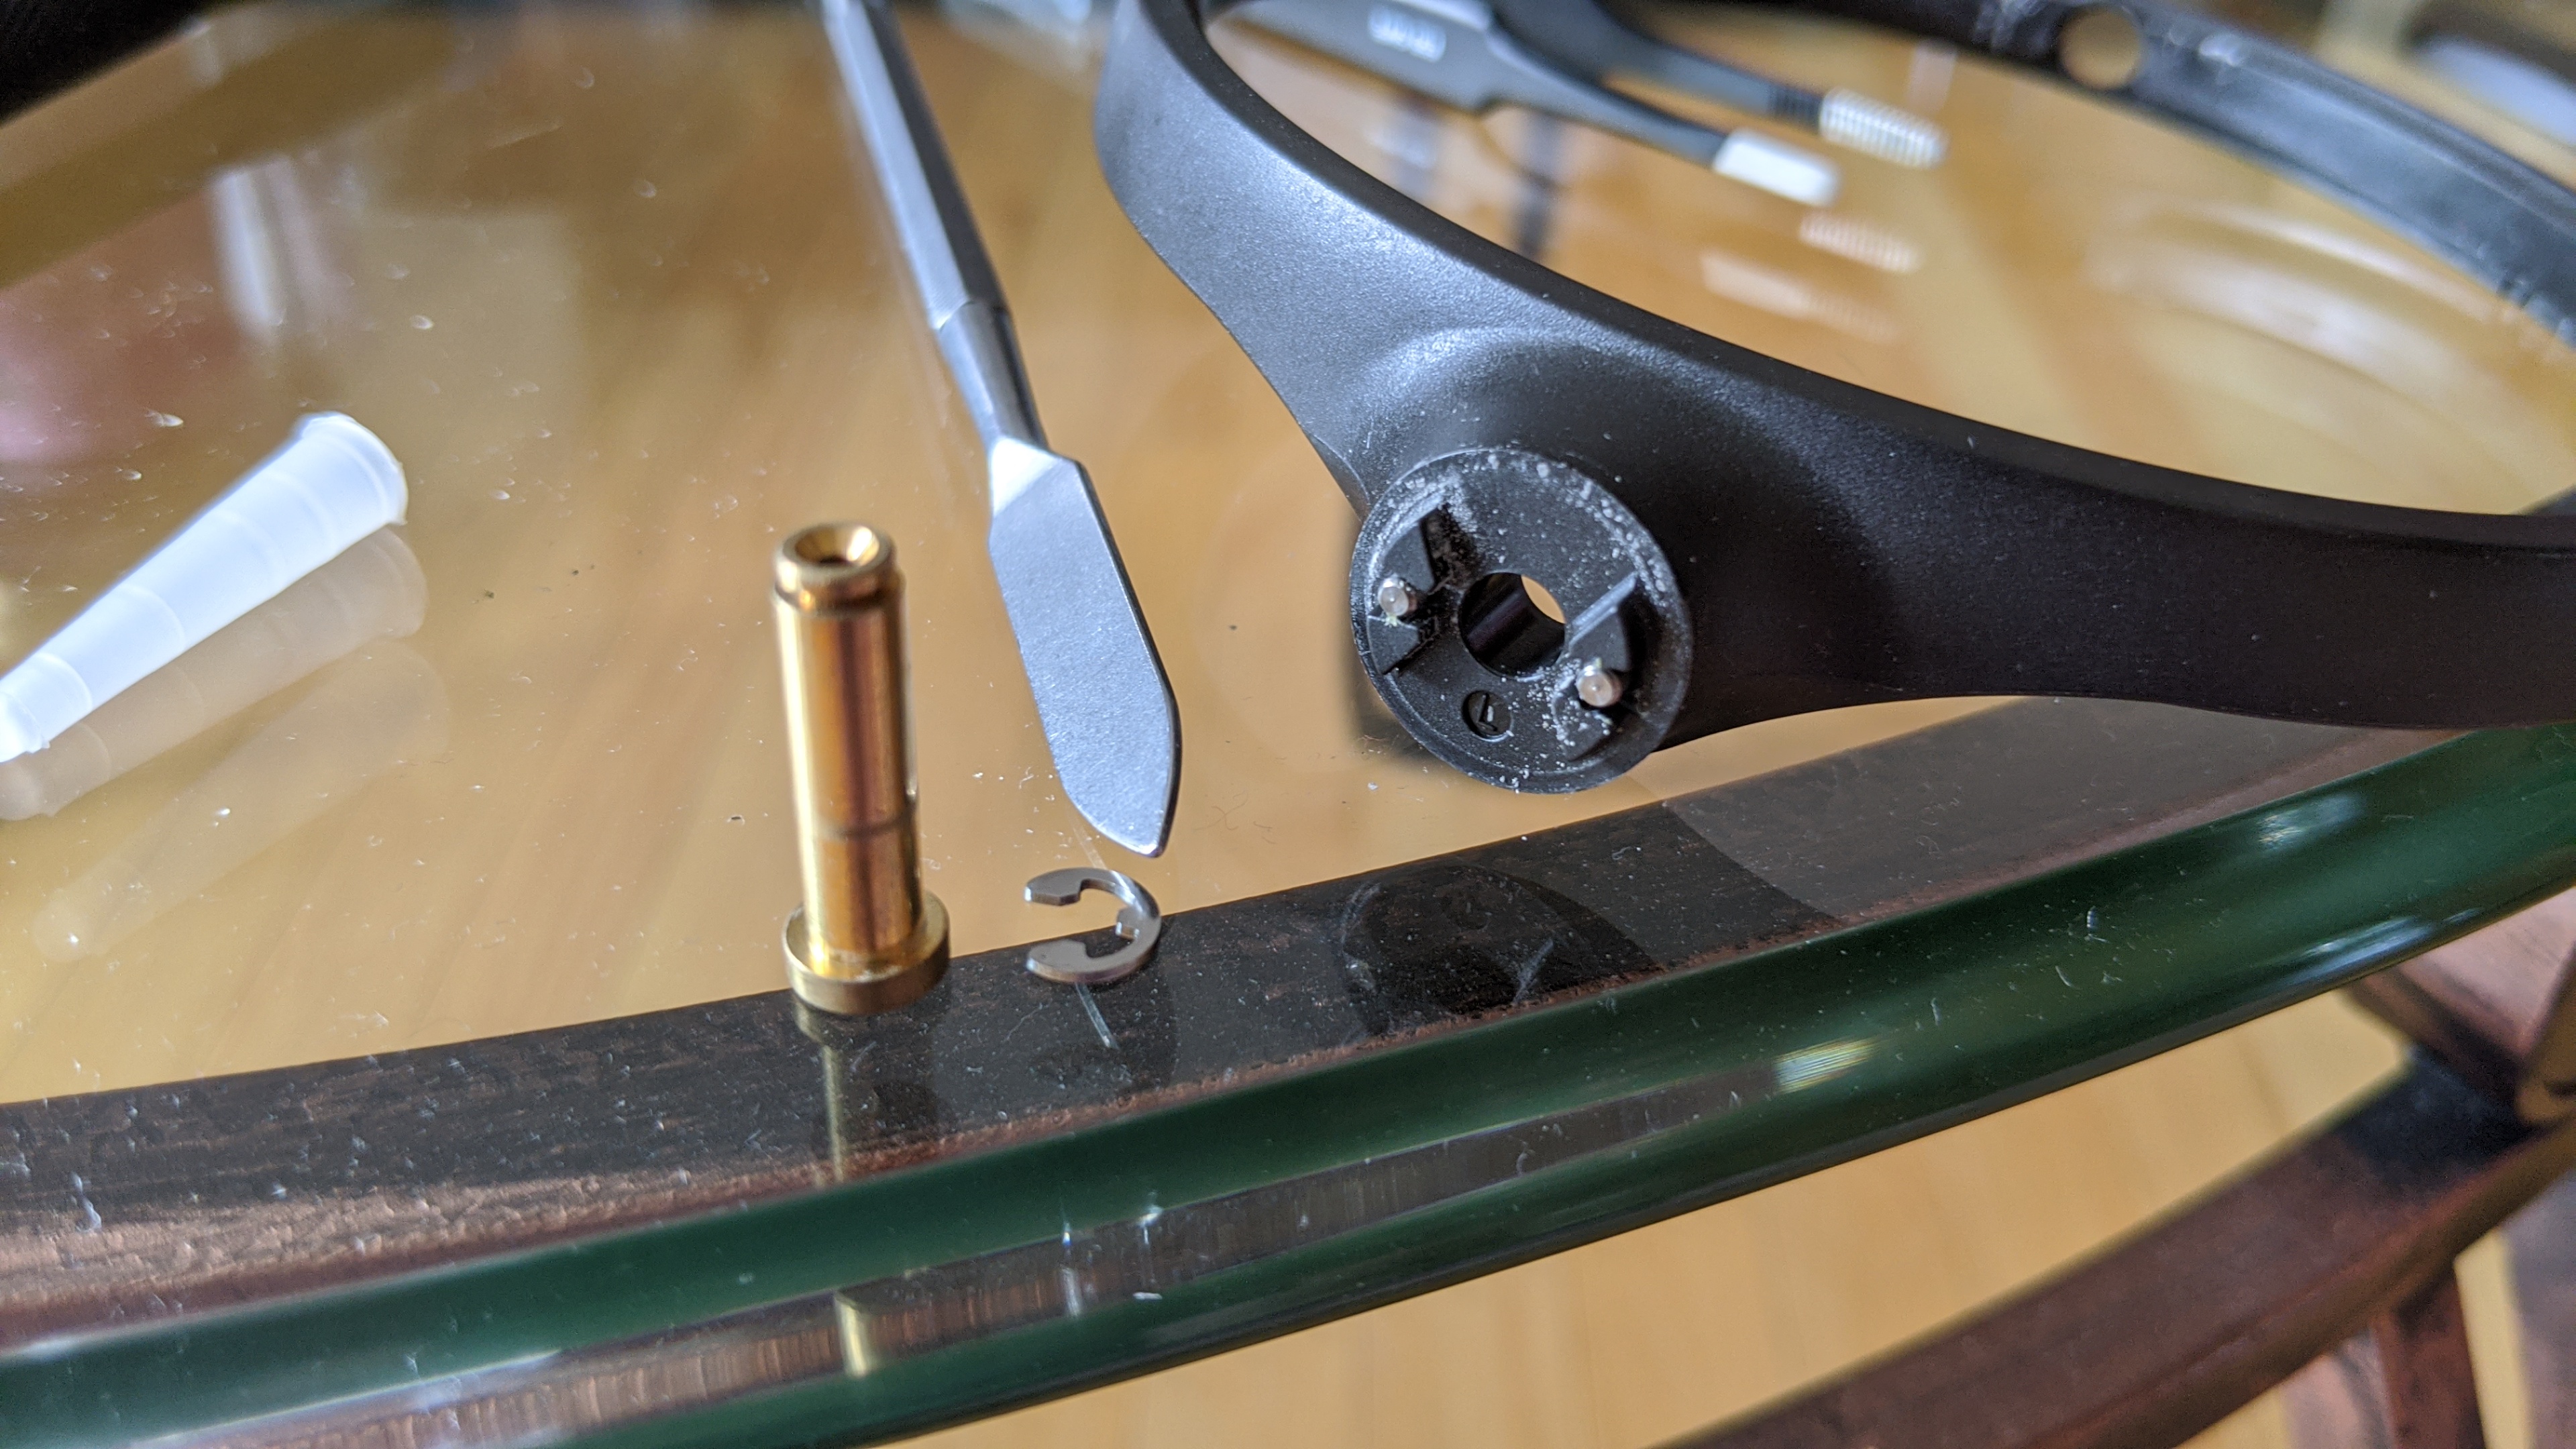
I had to grind some of the plastic pieces that the chromed plastic pieces screw into so that the jacks and one of the nuts that holds them in place would fit. Here's what one of these parts looks like after grinding some plastic away using a rotary tool: IMG_6795.jpg.

Here's what it looks like when I put together the two pieces pictured previously: IMG_6796.jpg.

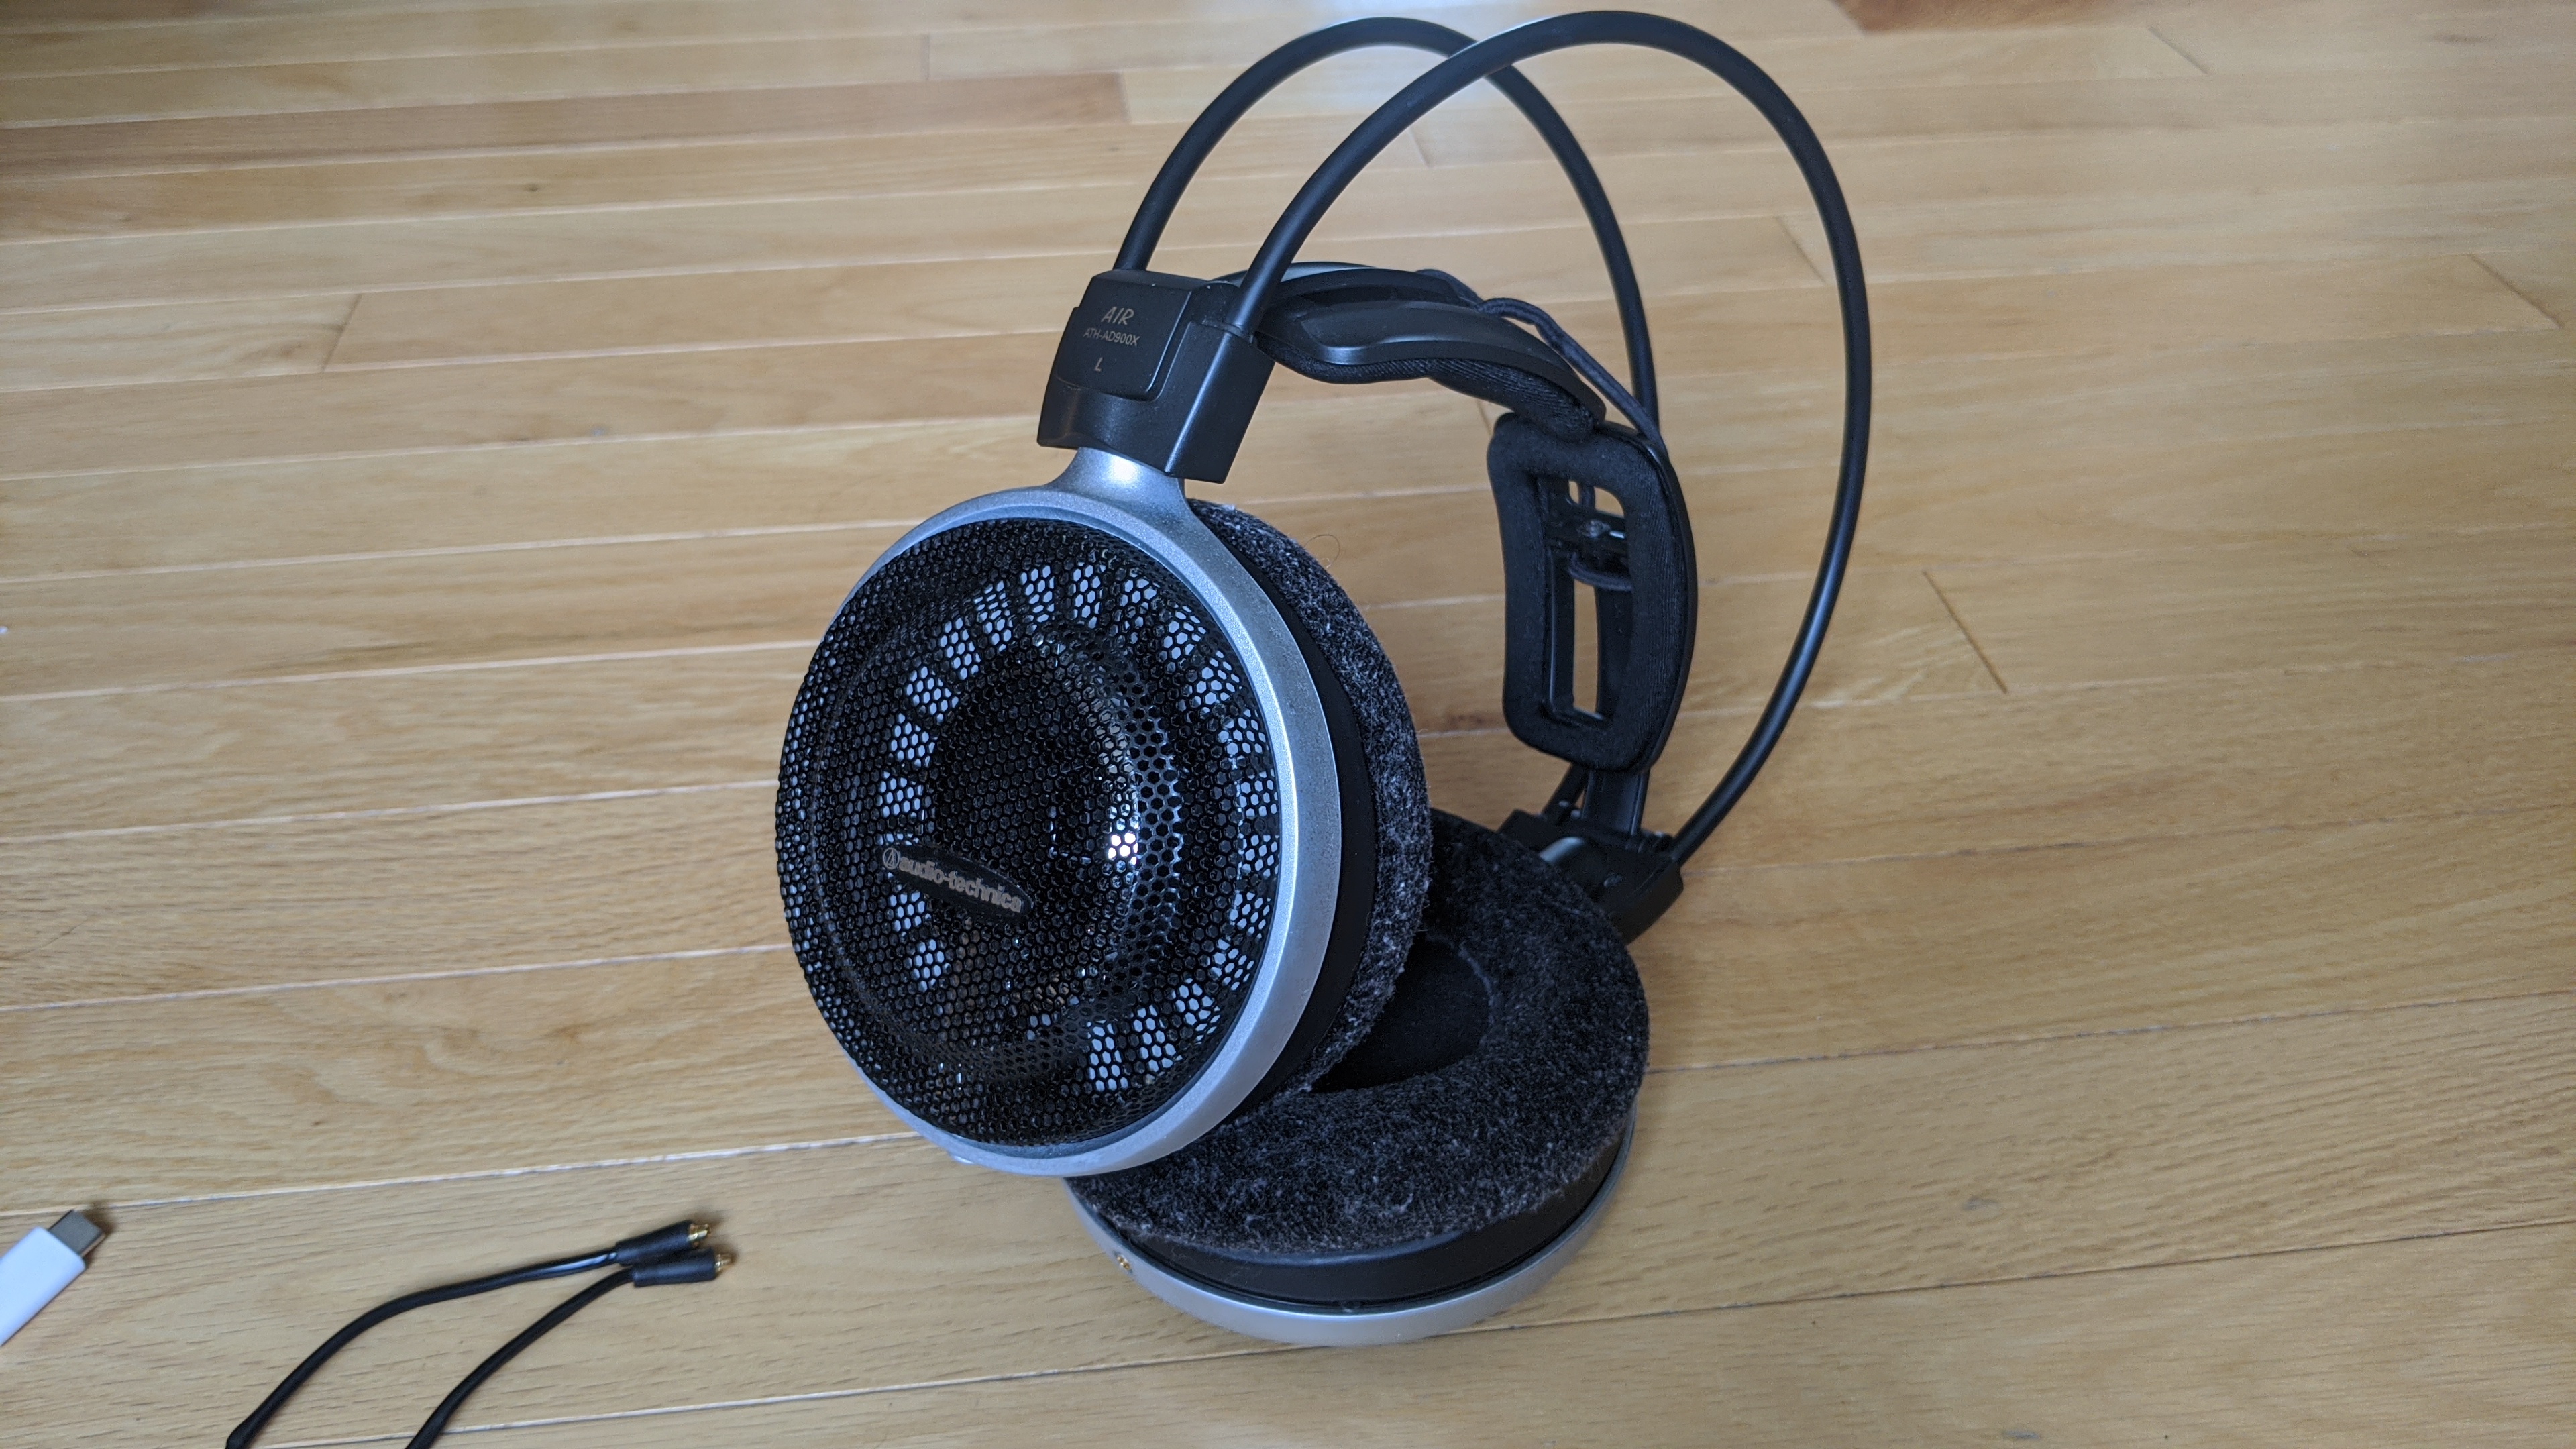
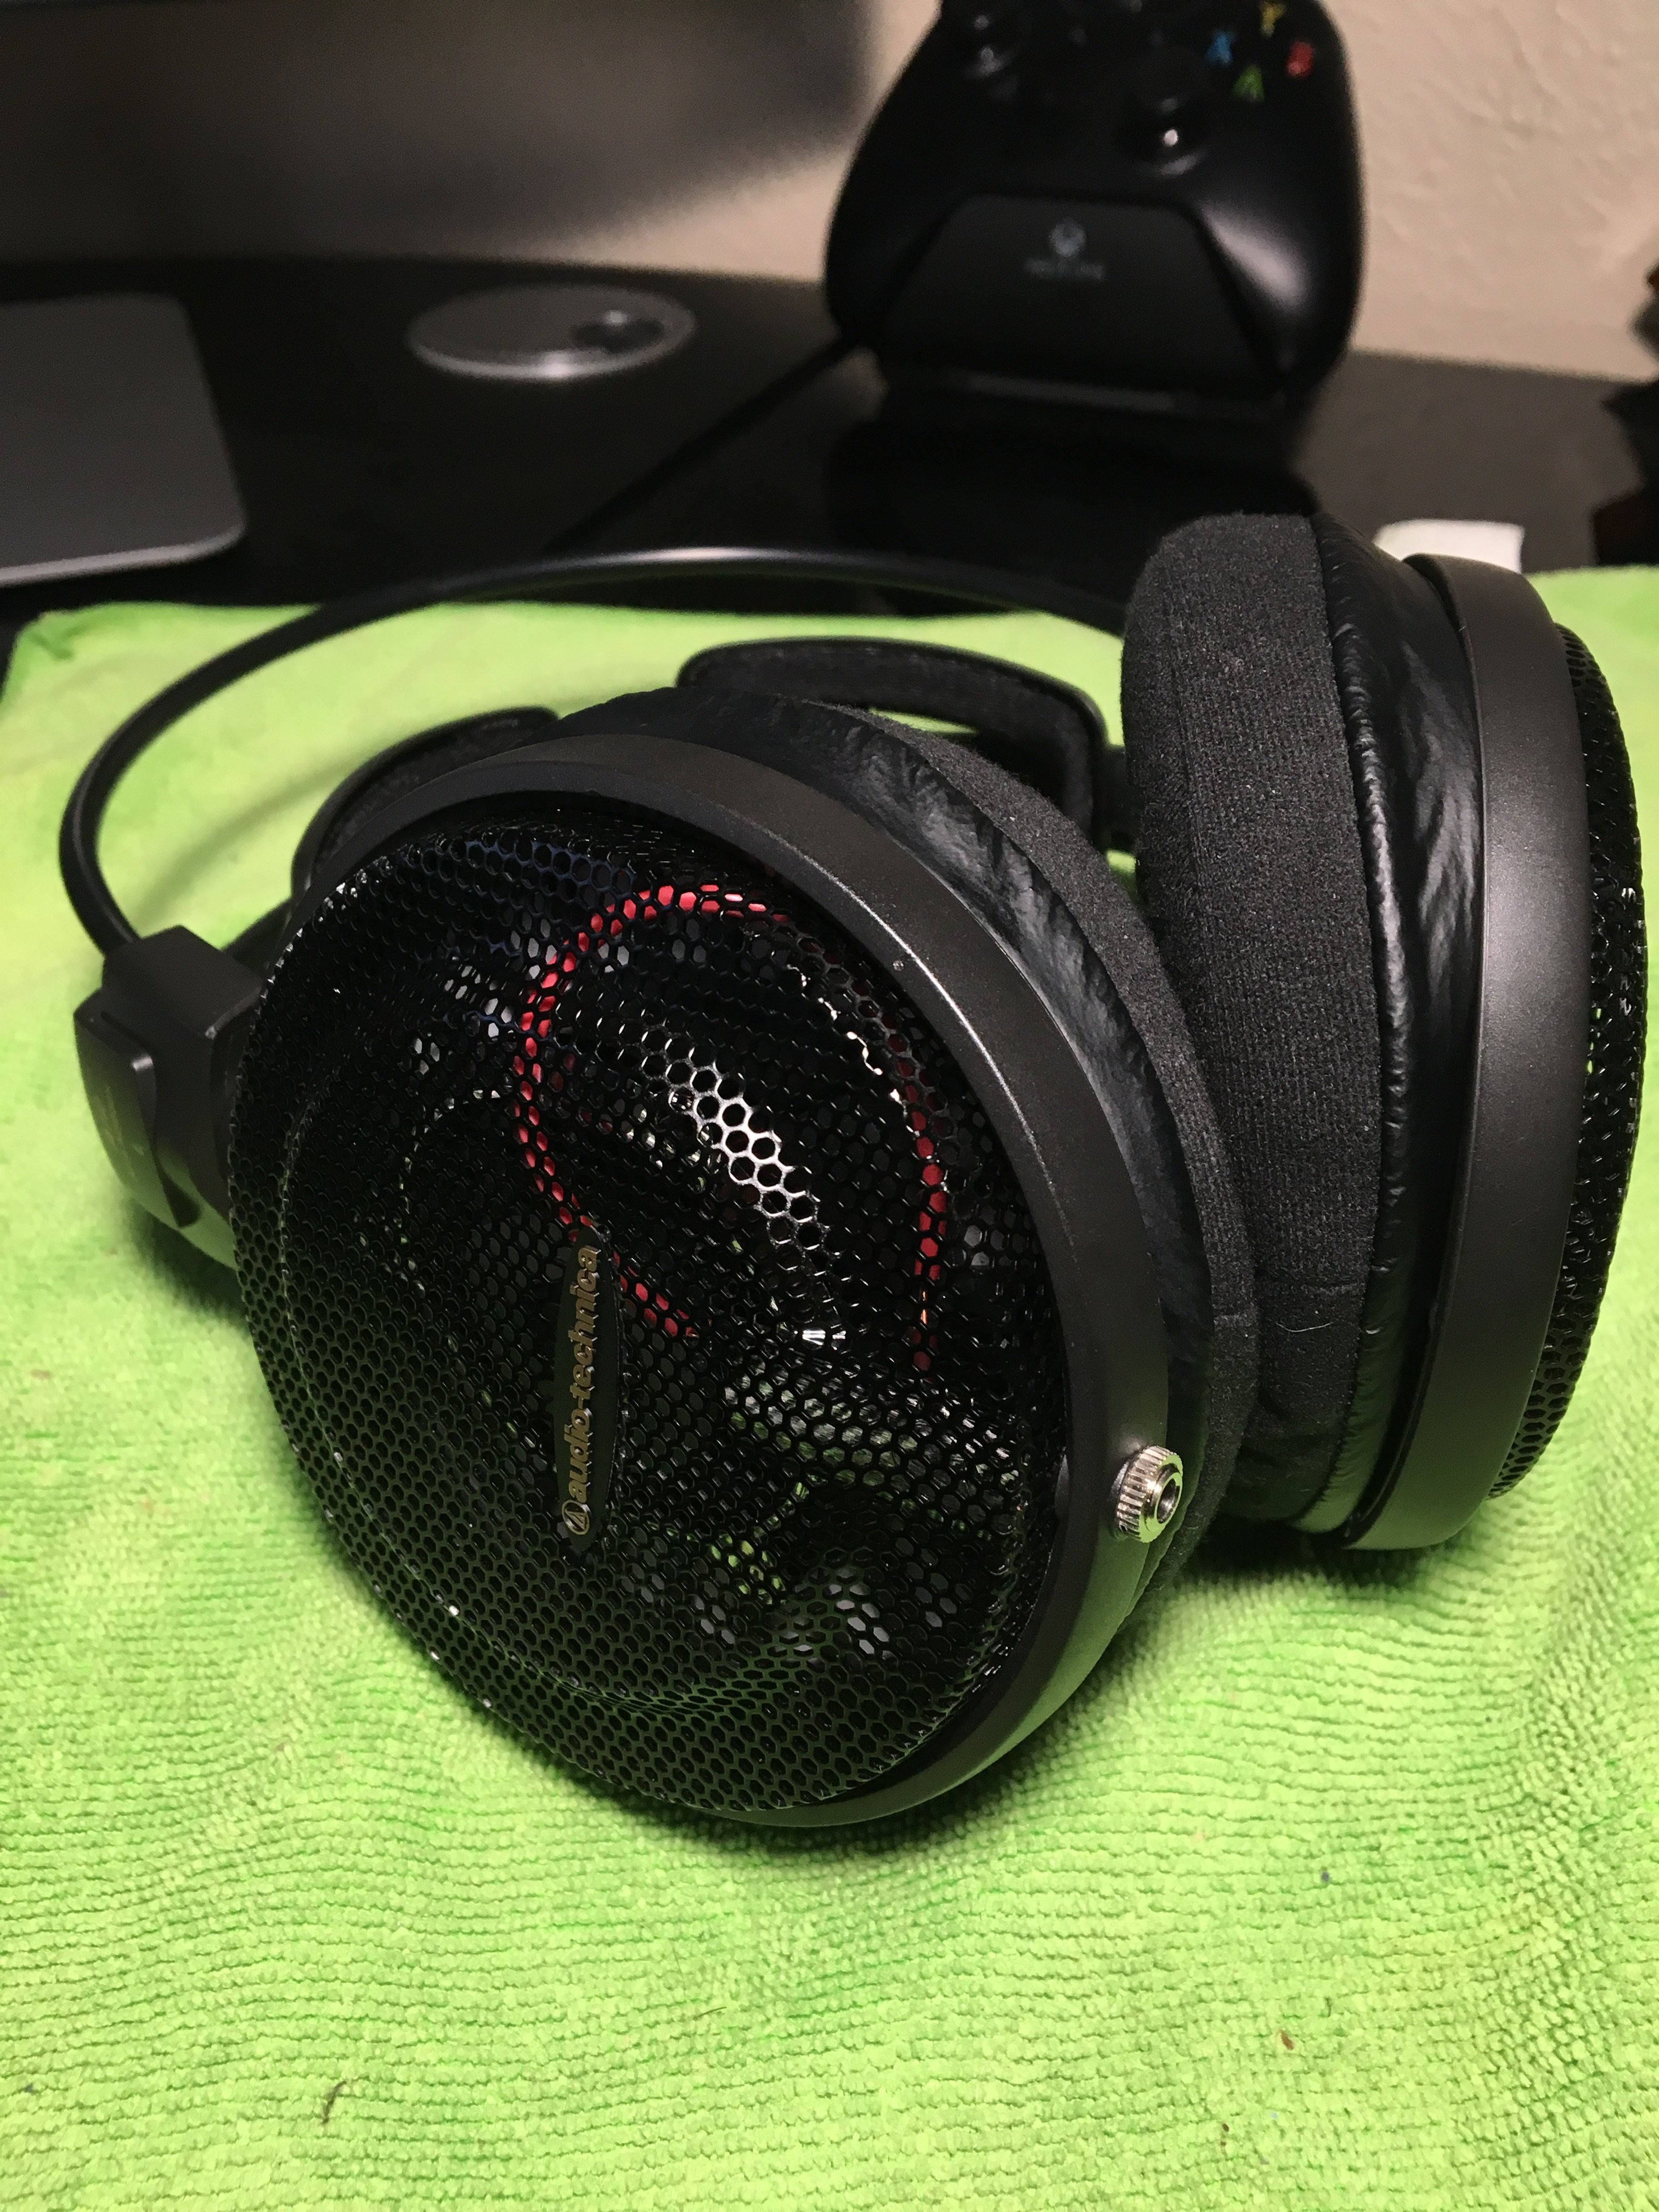
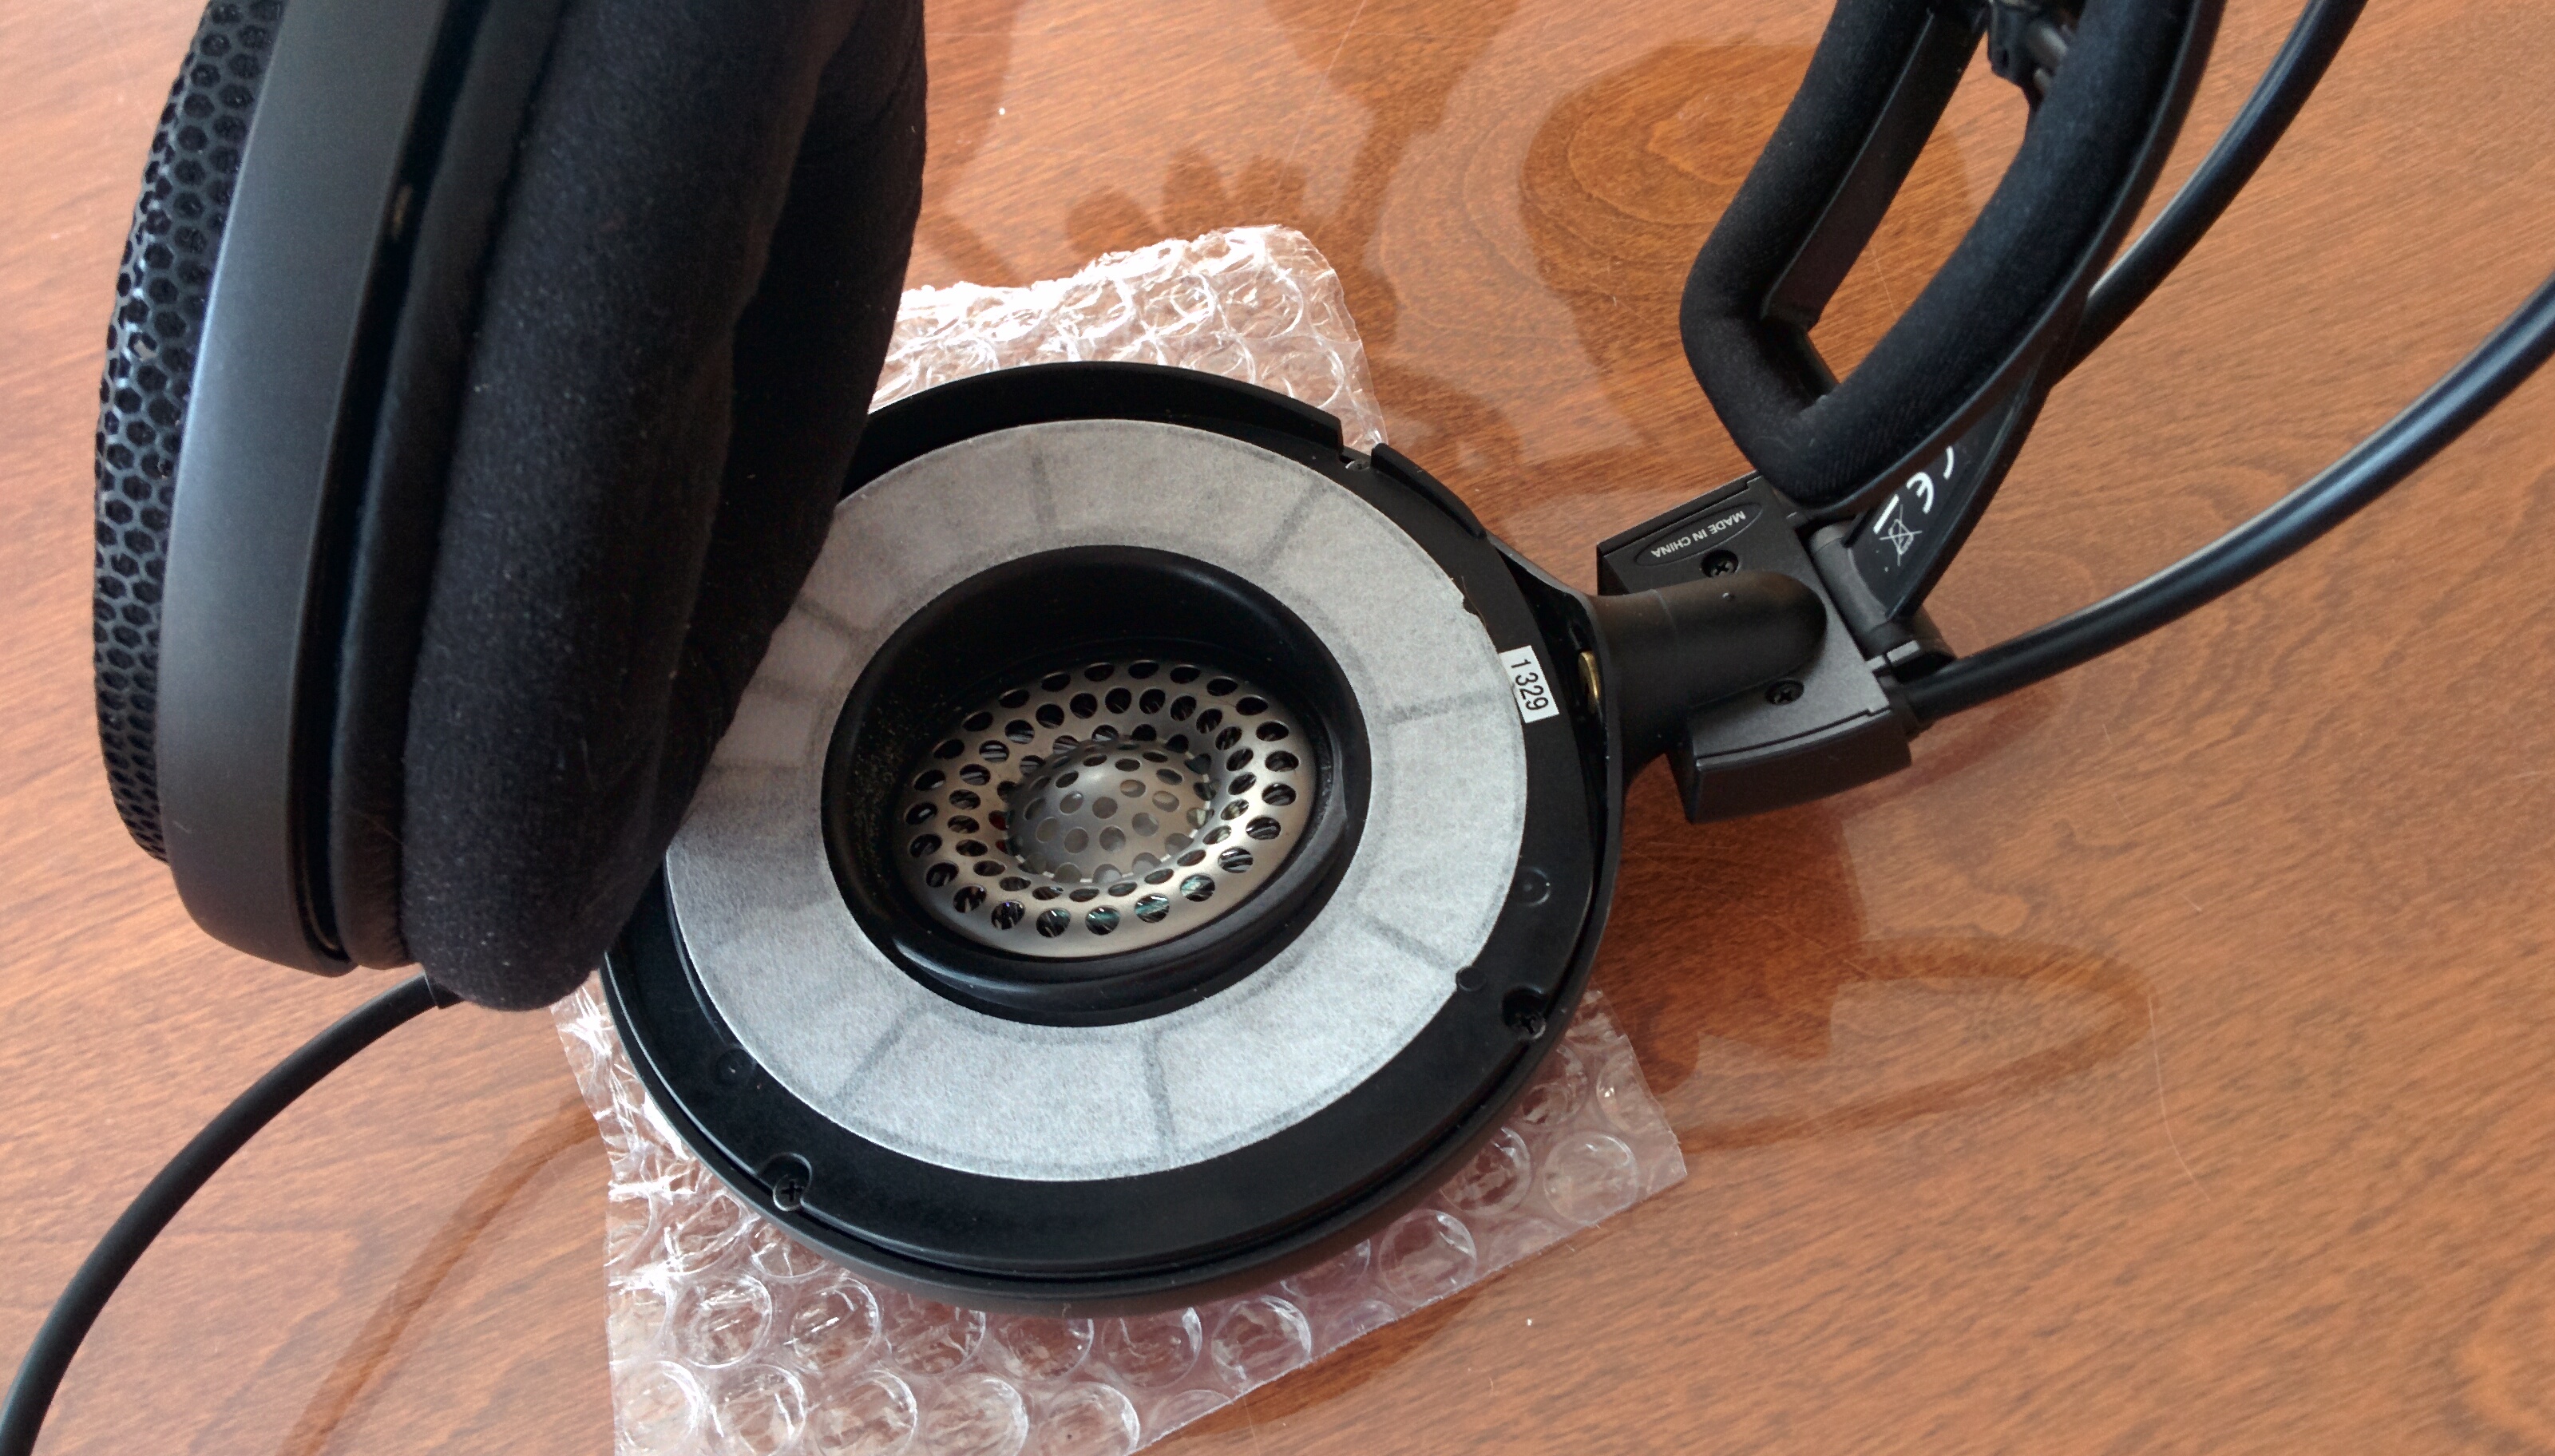
Here's what it looks like when I reassemble the headphones: IMG_6797.jpg. I used some grommets from McMaster-Carr to reduce the inner-diameter of the entry holes so that the A2DC plugs wouldn't be loose in them.

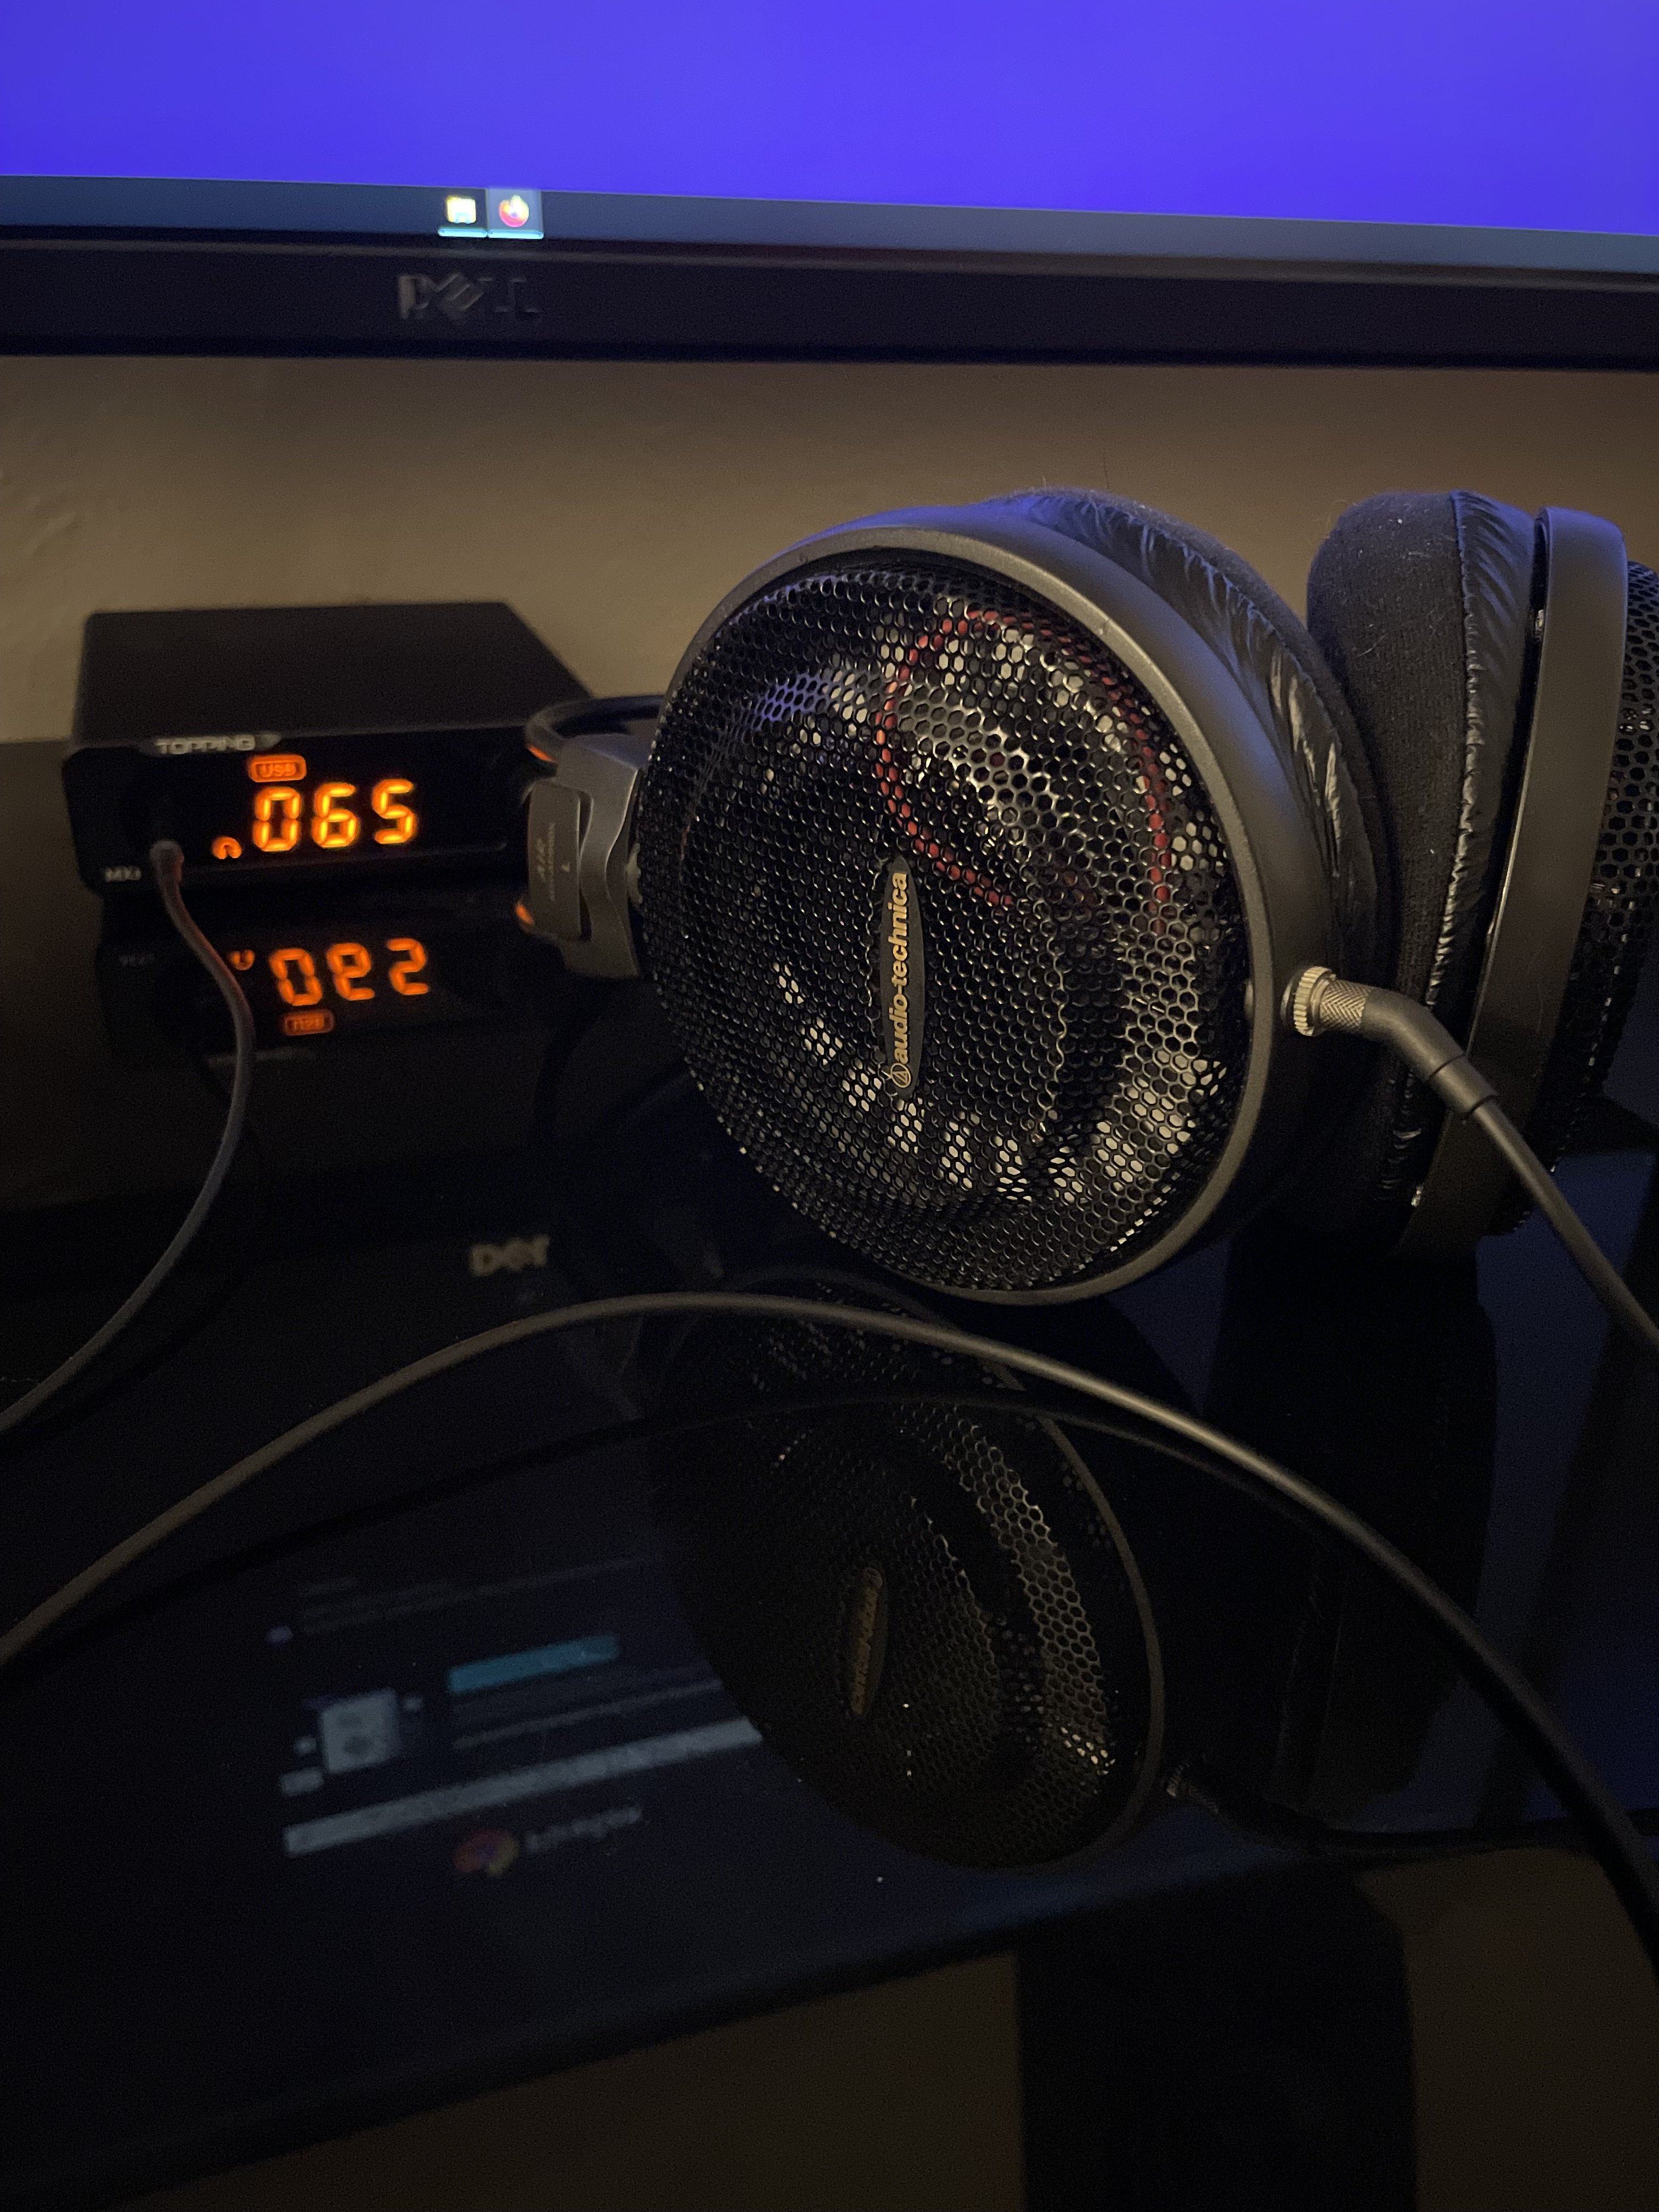
Finally, here's what it looks like with the A2DC plugs plugged in: IMG_6798.jpg.

I spent a tremendous amount of time on this project, mostly ruminating about how I might mount the A2DC jacks and investigating various random hardware parts that I thought I might be able to repurpose for this project. Also, I spent a lot of money — easily worth more than the headphones cost new — on buying the various hardware parts (plus shipping, which often cost more than the parts) and also some tools that I didn't already have. In the end, though, I'm happy with how this project turned out. Beyond the enjoyment of using the headphones (now with a balanced cable, if I want), the "hack value" of the project was just as enjoyable.
 
Oct 7, 2023 at 11:15 PM Post #43 of 48
Just wanted to say thanks to everyone who documented their steps here. I've just ordered the parts to do this mod on my AD500x's. Got them pretty cheap at a used store here in japan, and the cable is a bit finicky but I love the sound of them.
 

Users who are viewing this thread

Back
Top